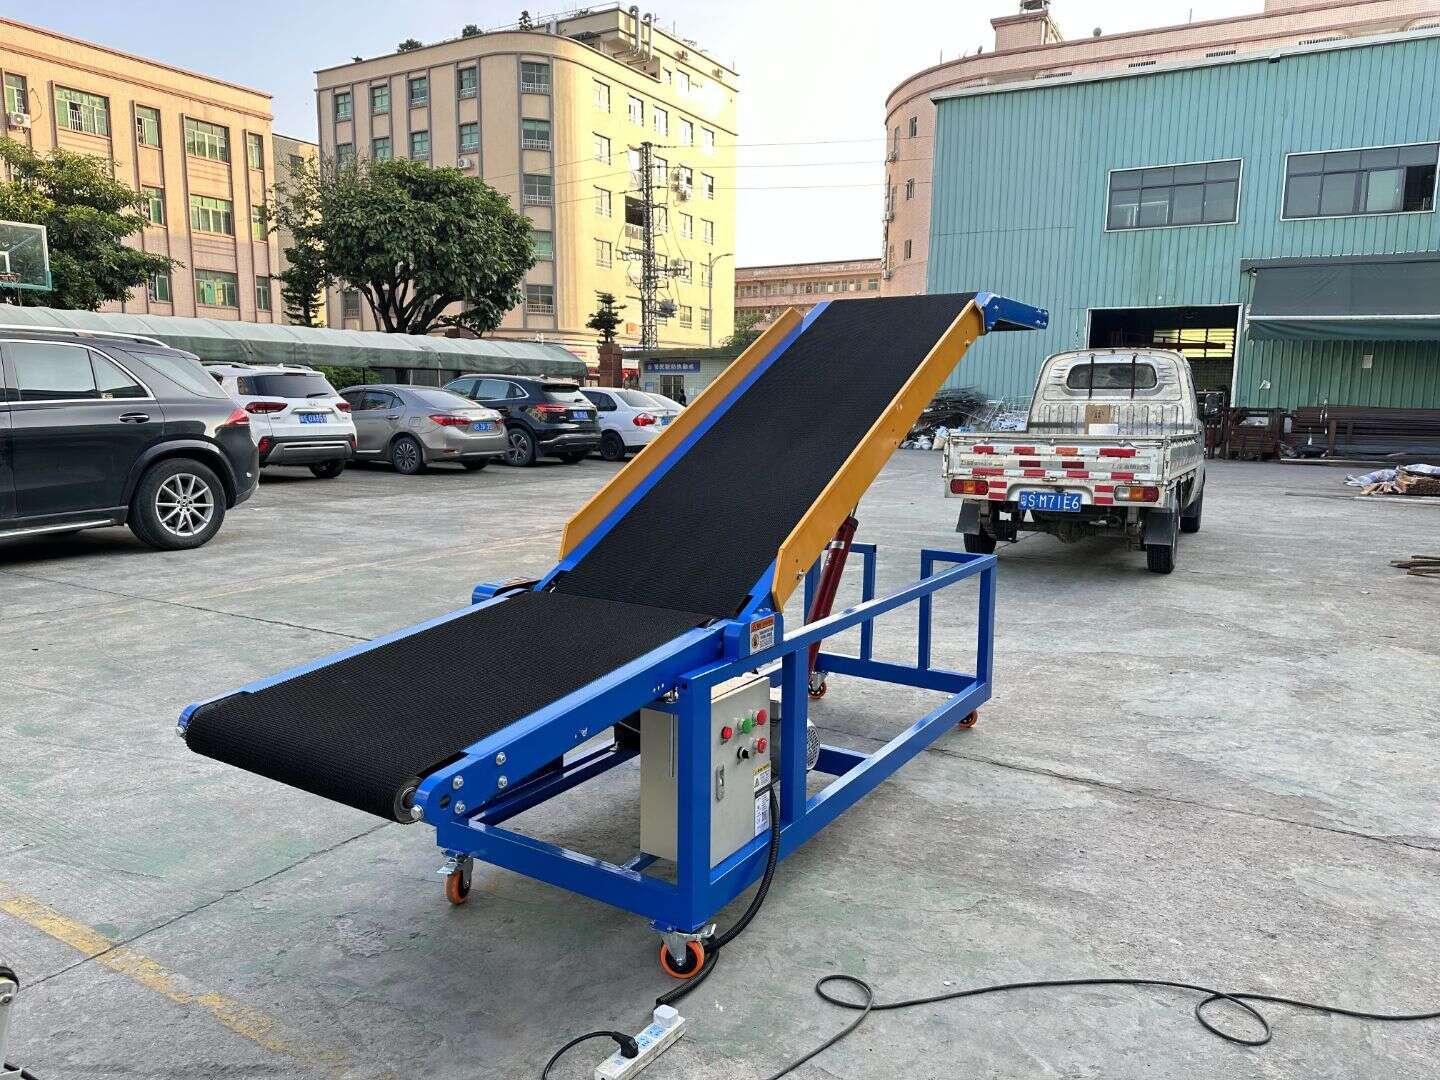
The core challenge of ground loading without a dock
When doing "Hydraulic Conveyor ground loading" without a loading dock, what really limits efficiency and safety is often not the cargo volume, but the height difference between the ground and the truck bed. Many companies face similar constraints: leased sites do not allow civil construction modifications, temporary loading points need to be cleared at any time, or the budget is not enough to build a fixed dock.
When a height difference exists (commonly about 1.2–1.5 m), loading can easily deteriorate into low-efficiency manual handling and repeated climbing in and out of the truck bed: high labor intensity, unstable pace, and a greater risk of slips, collisions, and cargo damage.
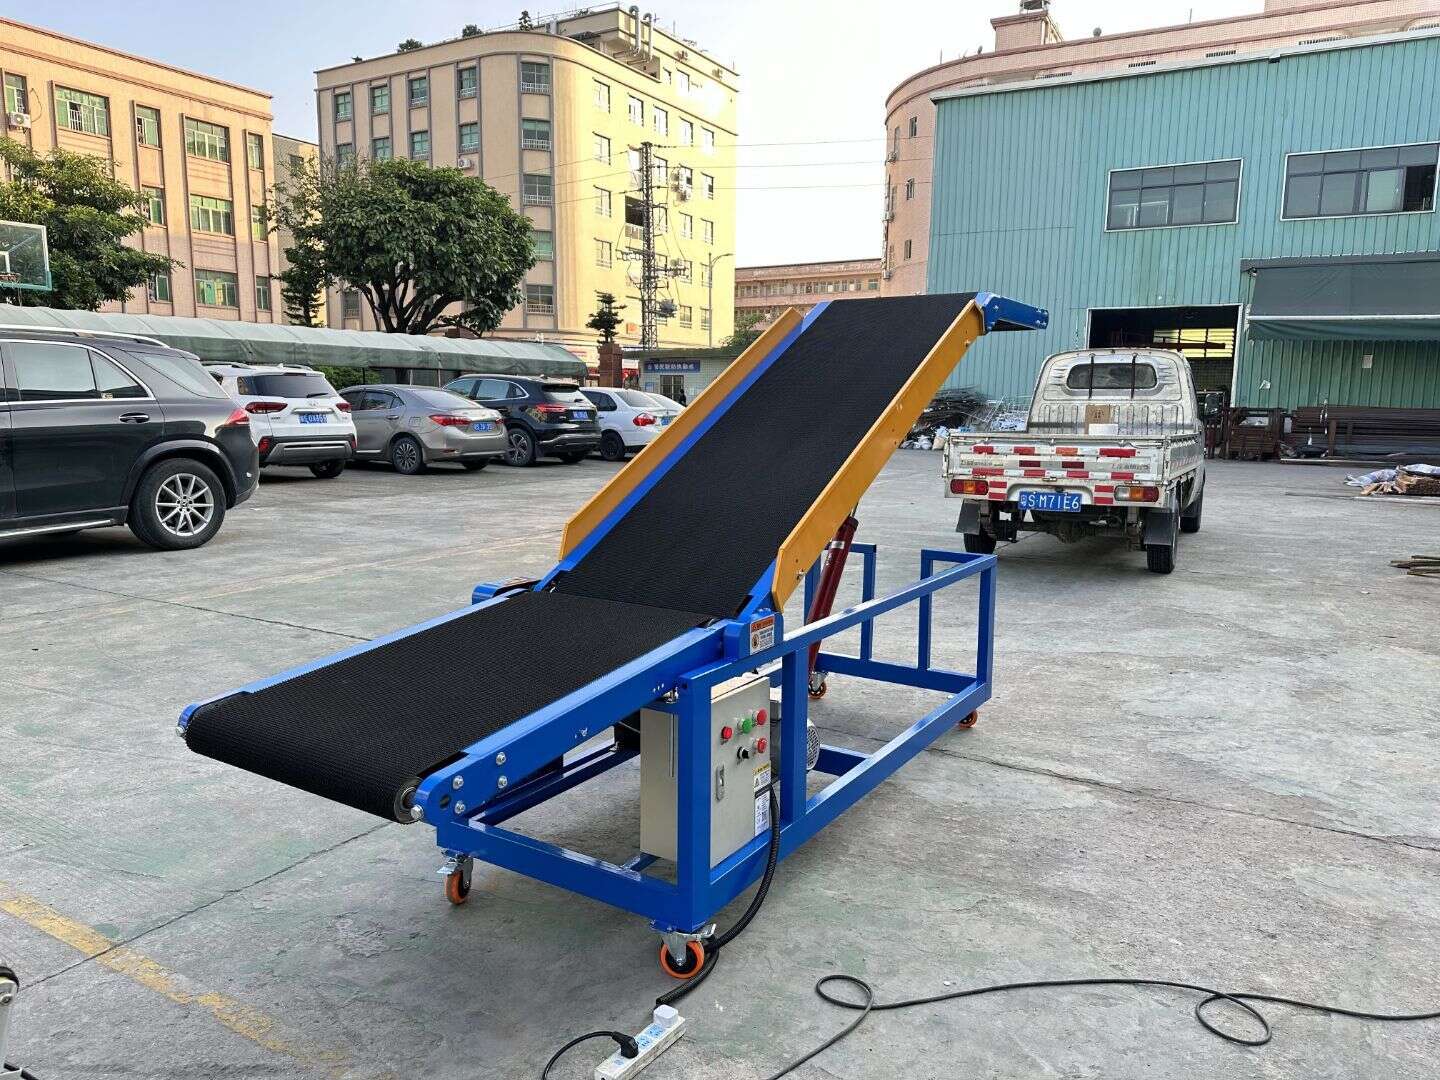
Traditional alternatives usually include temporary ramps, manual lifting, or directly investing in permanent infrastructure. But these methods are either not flexible enough or too costly in the long run, making it hard to meet the practical needs of switching between different vehicle types and multiple work sites.
How Hydraulic Conveyor bridges the "height gap"
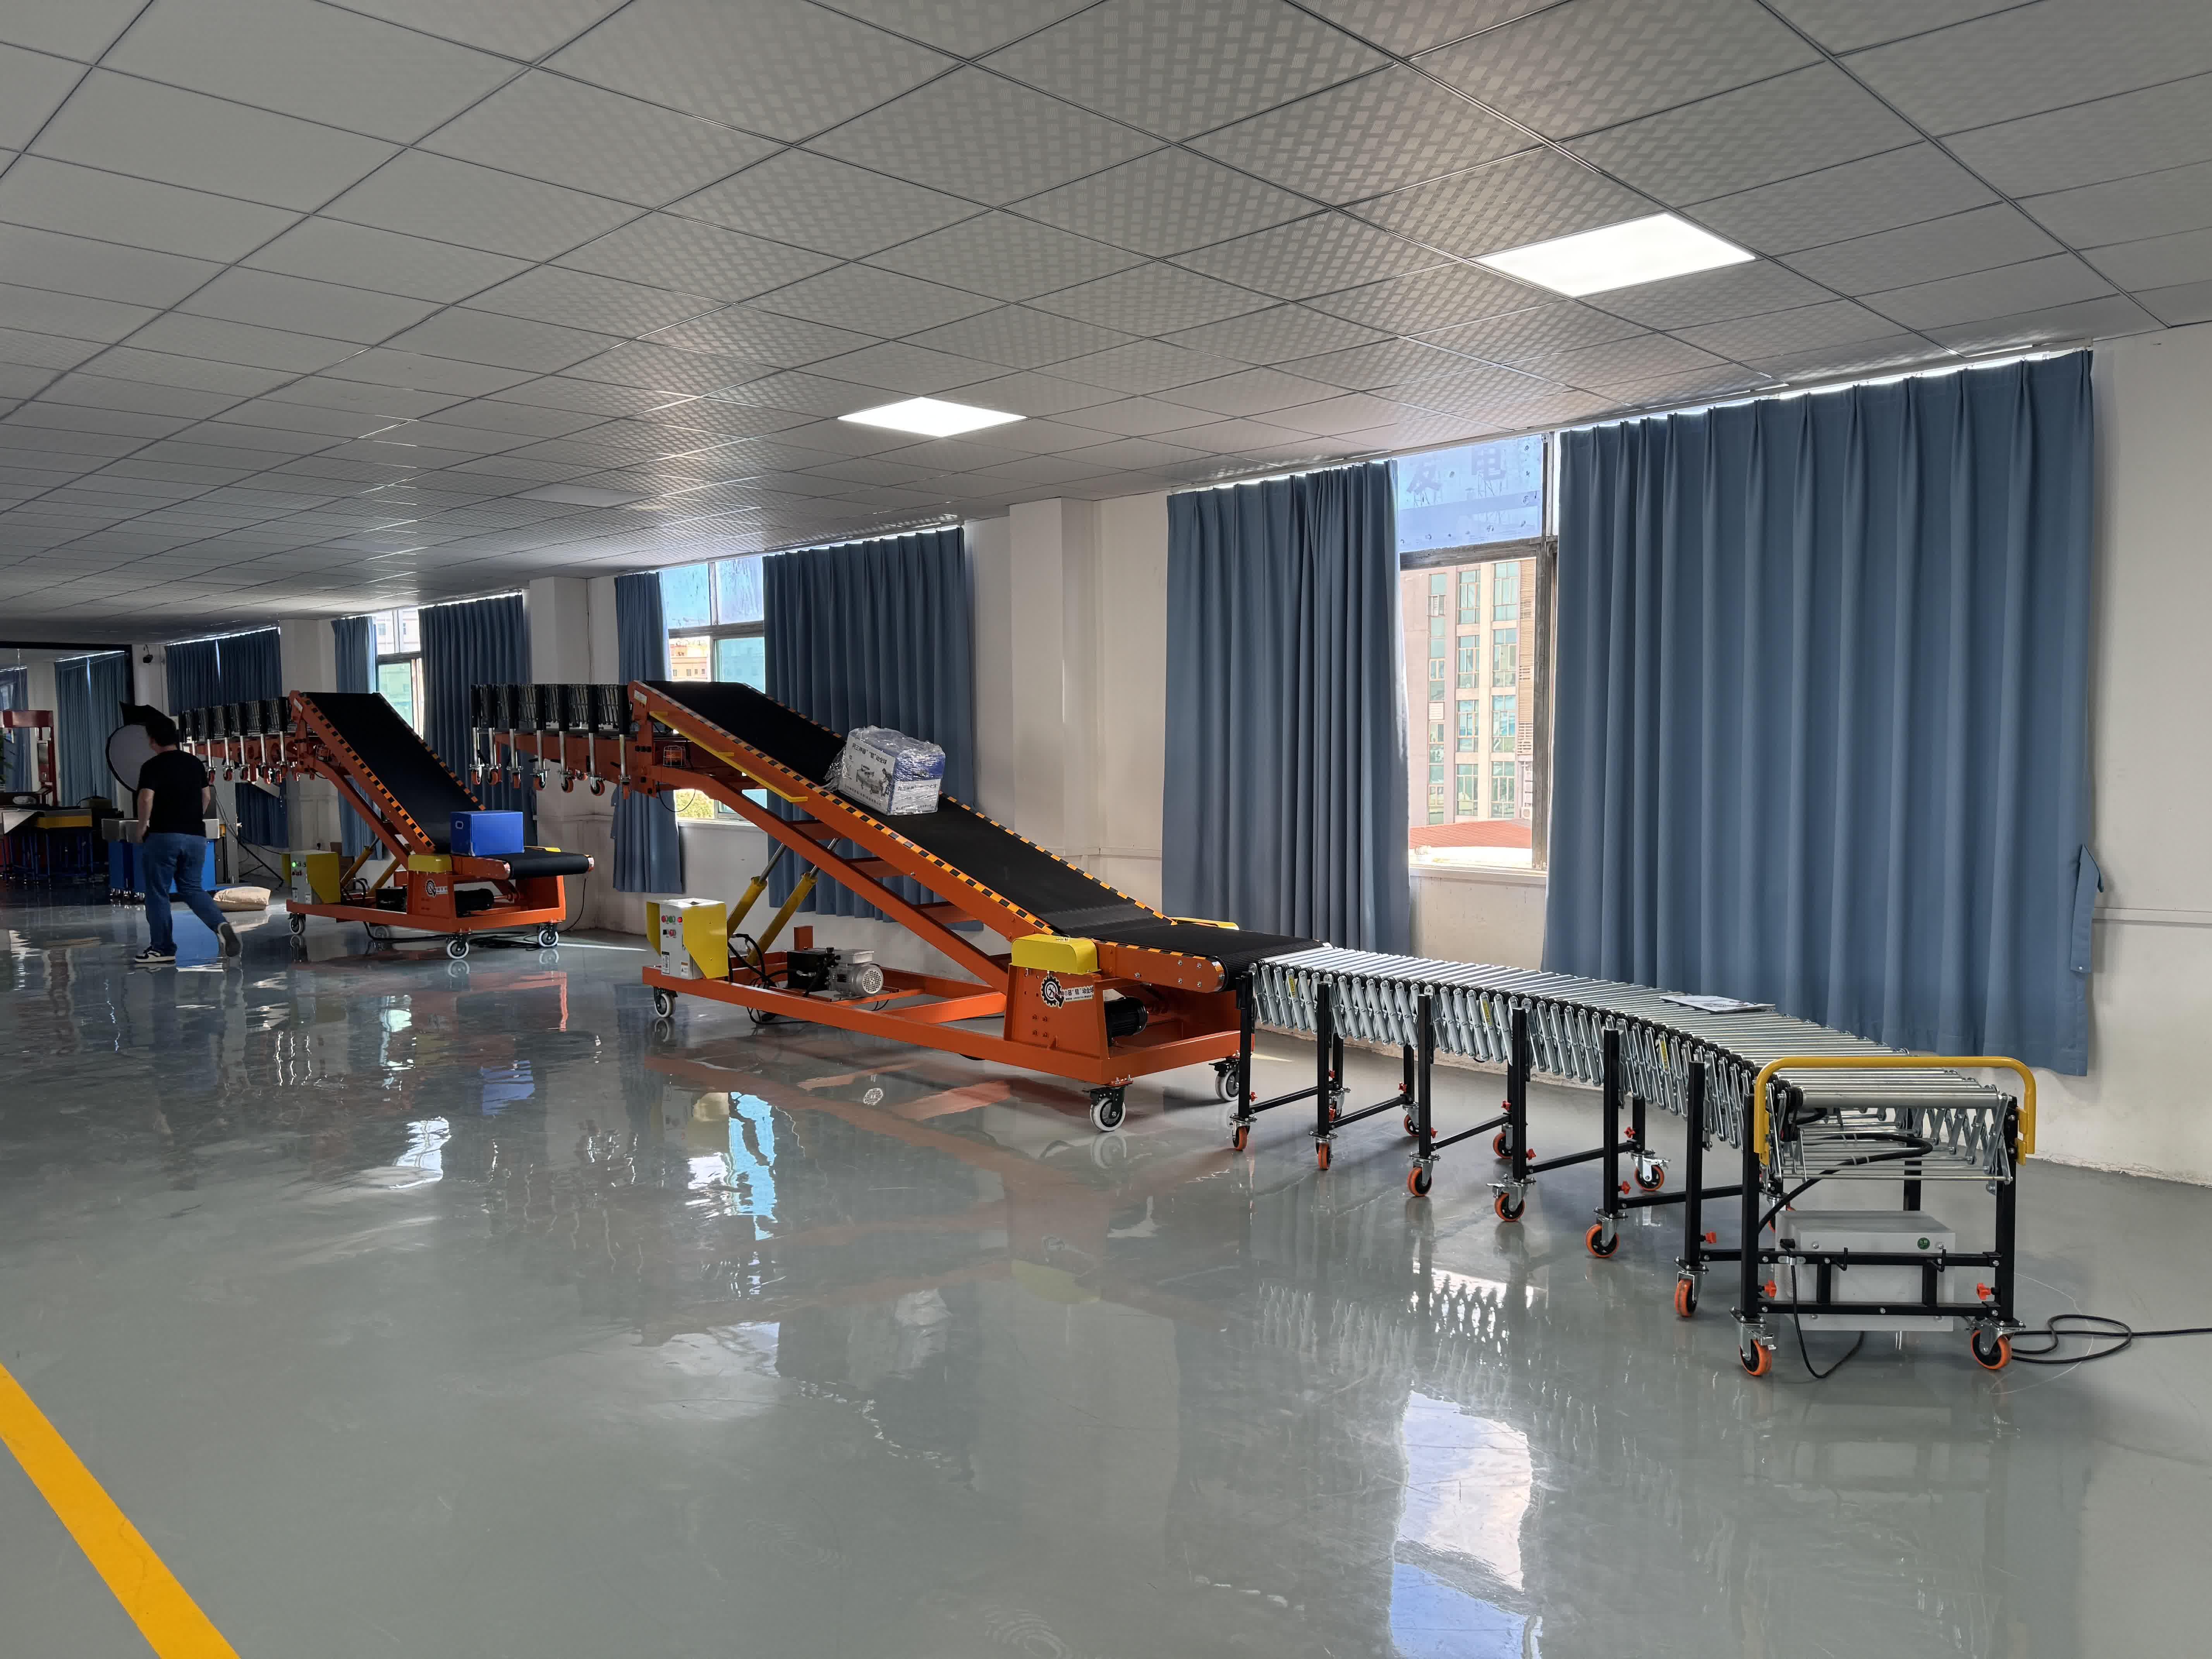
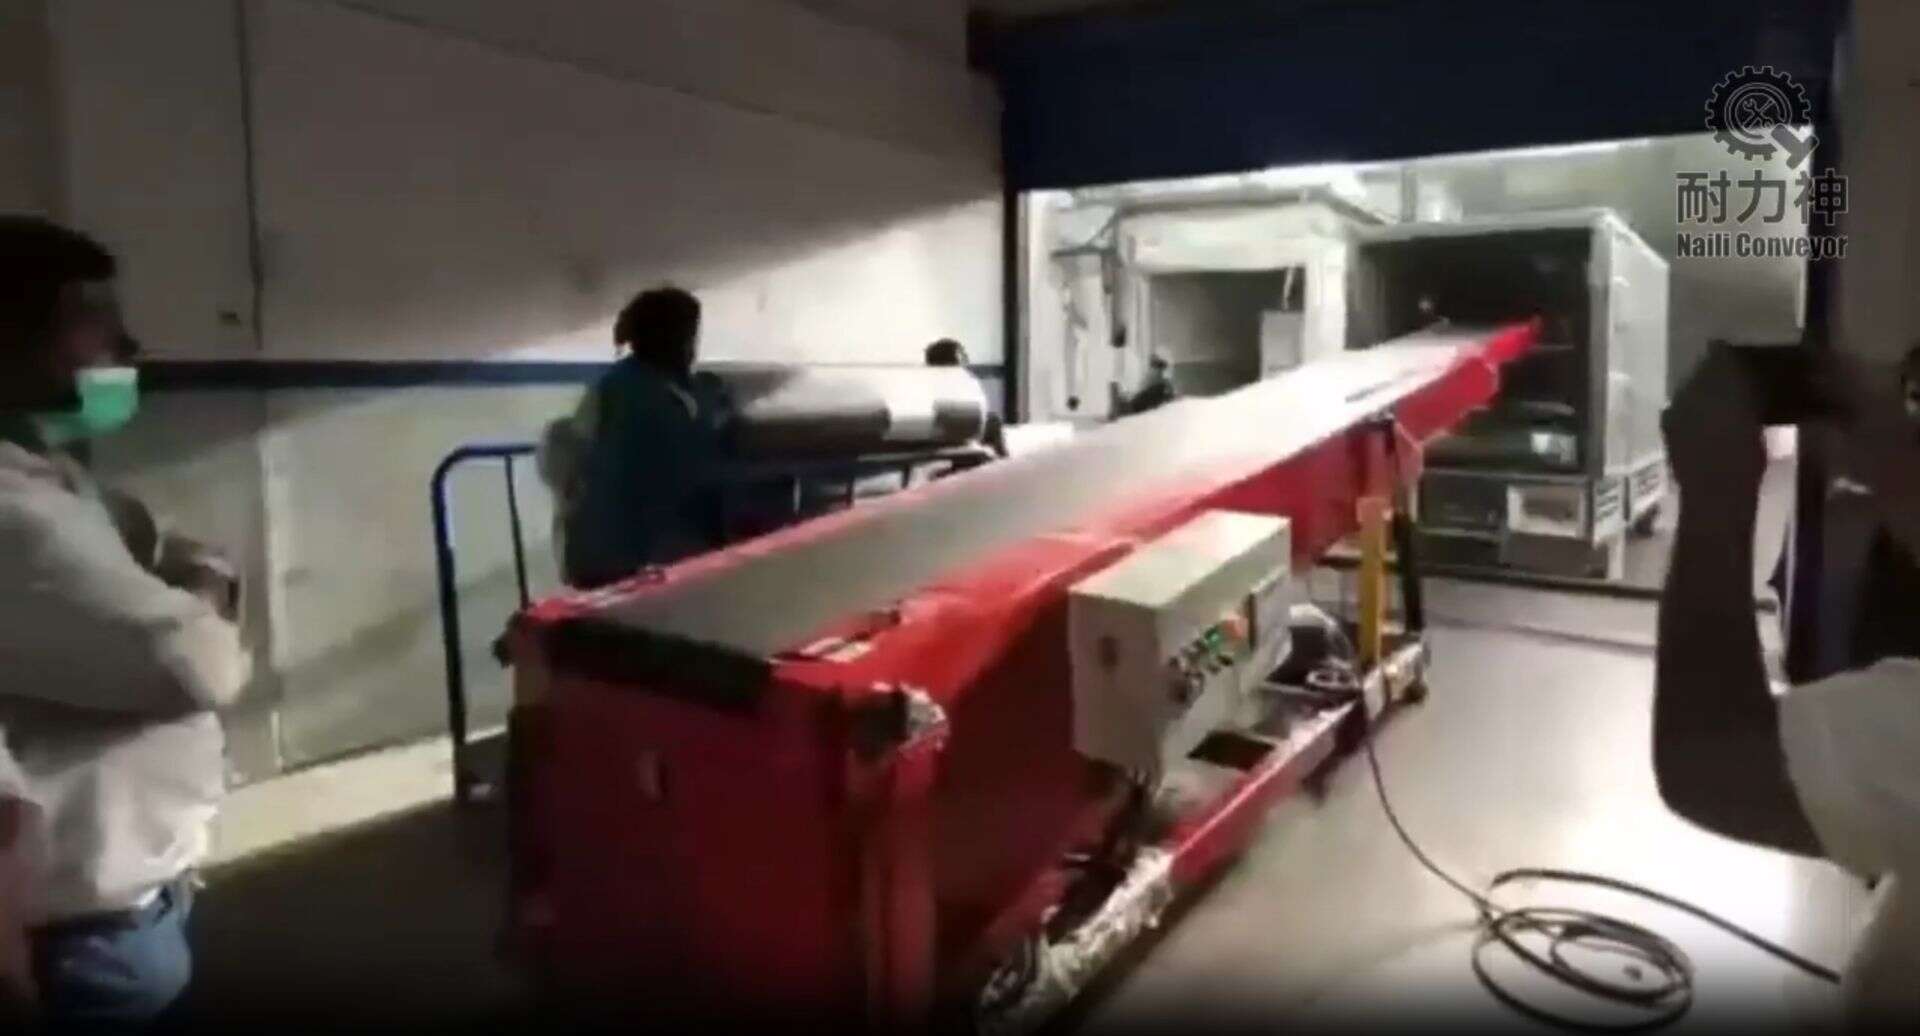
To turn "Hydraulic Conveyor ground loading" into a standardized process, the key is to use a mobile, height-adjustable inclined belt conveyor to quickly connect the "ground → truck bed" height difference, shifting loading from "manual handling" to "continuous conveying".
Hydraulic Conveyor can be seen as a portable loading dock: its height and angle are adjusted through a hydraulic lifting system, quickly creating a stable loading channel without changing the site structure.
Its typical structure can be understood as three sections:
- Lower platform: located at ground level, where staff place parcels/cargo
- Climbing conveyor section: driven by a belt, continuously lifts the cargo
- Upper platform: raised to truck-bed height for a smooth transition
Height adaptability is the core capability that solves "dockless loading": the upper end height can be adjusted within the 700–2400 mm range (depending on the model). With the control buttons, docking can be completed in a short time, adapting to frequent changes when different vehicles arrive.
To ensure continuous operation and basic safety, the key components and functions of the equipment usually include:
- Anti-slip belt: 5.0 mm PVC grass-pattern anti-slip belt, improving gripping stability during climbing
- Drive motor: 750 W, providing a stable conveying speed of about 30 m/min
- Hydraulic system: 2.2 kW hydraulic pump and cylinder provide 5-ton lifting force for quick lifting and docking
- Mobile positioning: swivel casters with brakes for easy alignment and locking during operation
- Control mode: forward/reverse, lifting/lowering, and emergency stop for on-site control and emergency shutdown
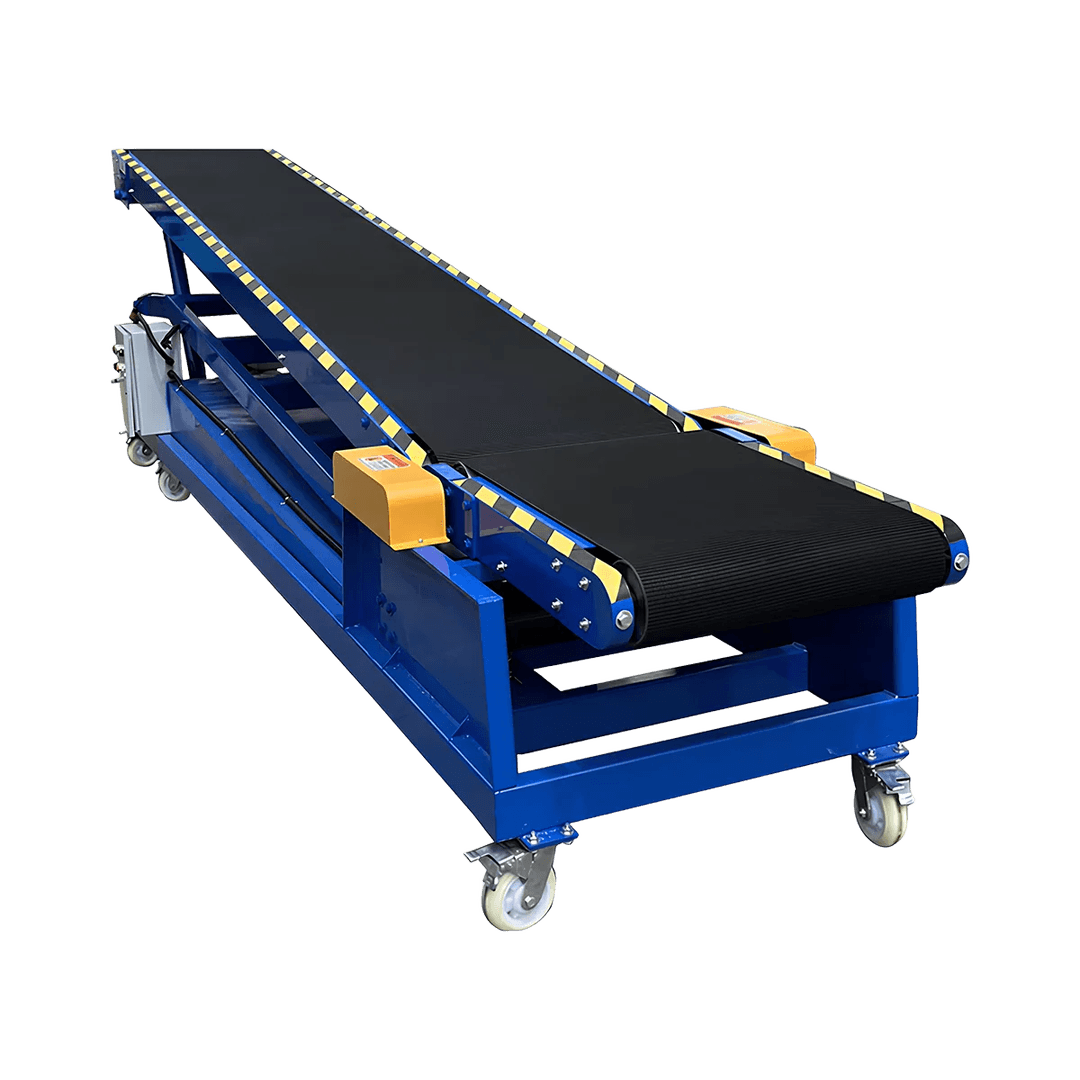
Medium Hydraulic Conveyor
Medium Hydraulic Conveyor is specially designed for sites without loading and unloading platforms and is suitable for trucks under 40 ft. The hydrauli…

Metal Drum

Plastic Drum

Roll

Carton

Bagged
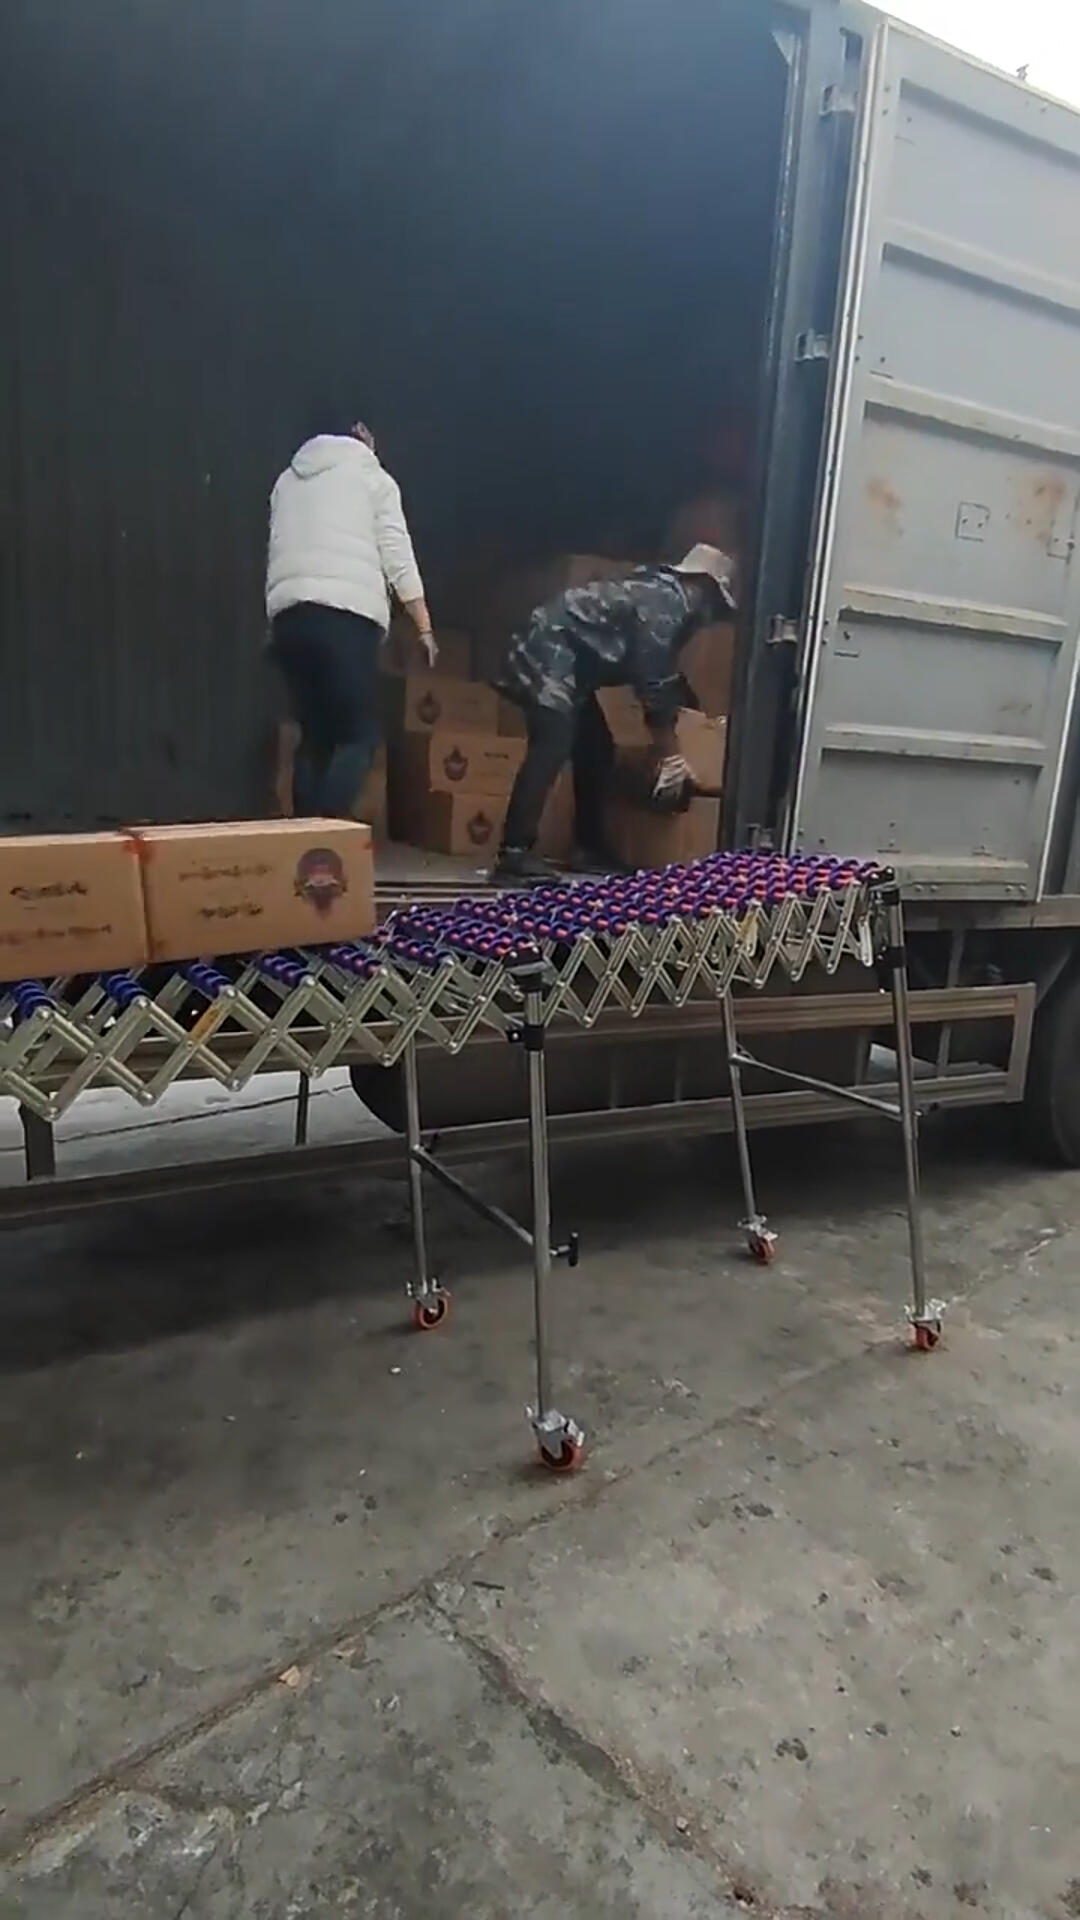
Increase the distance extended into the truck bed: top docked gravity rollers
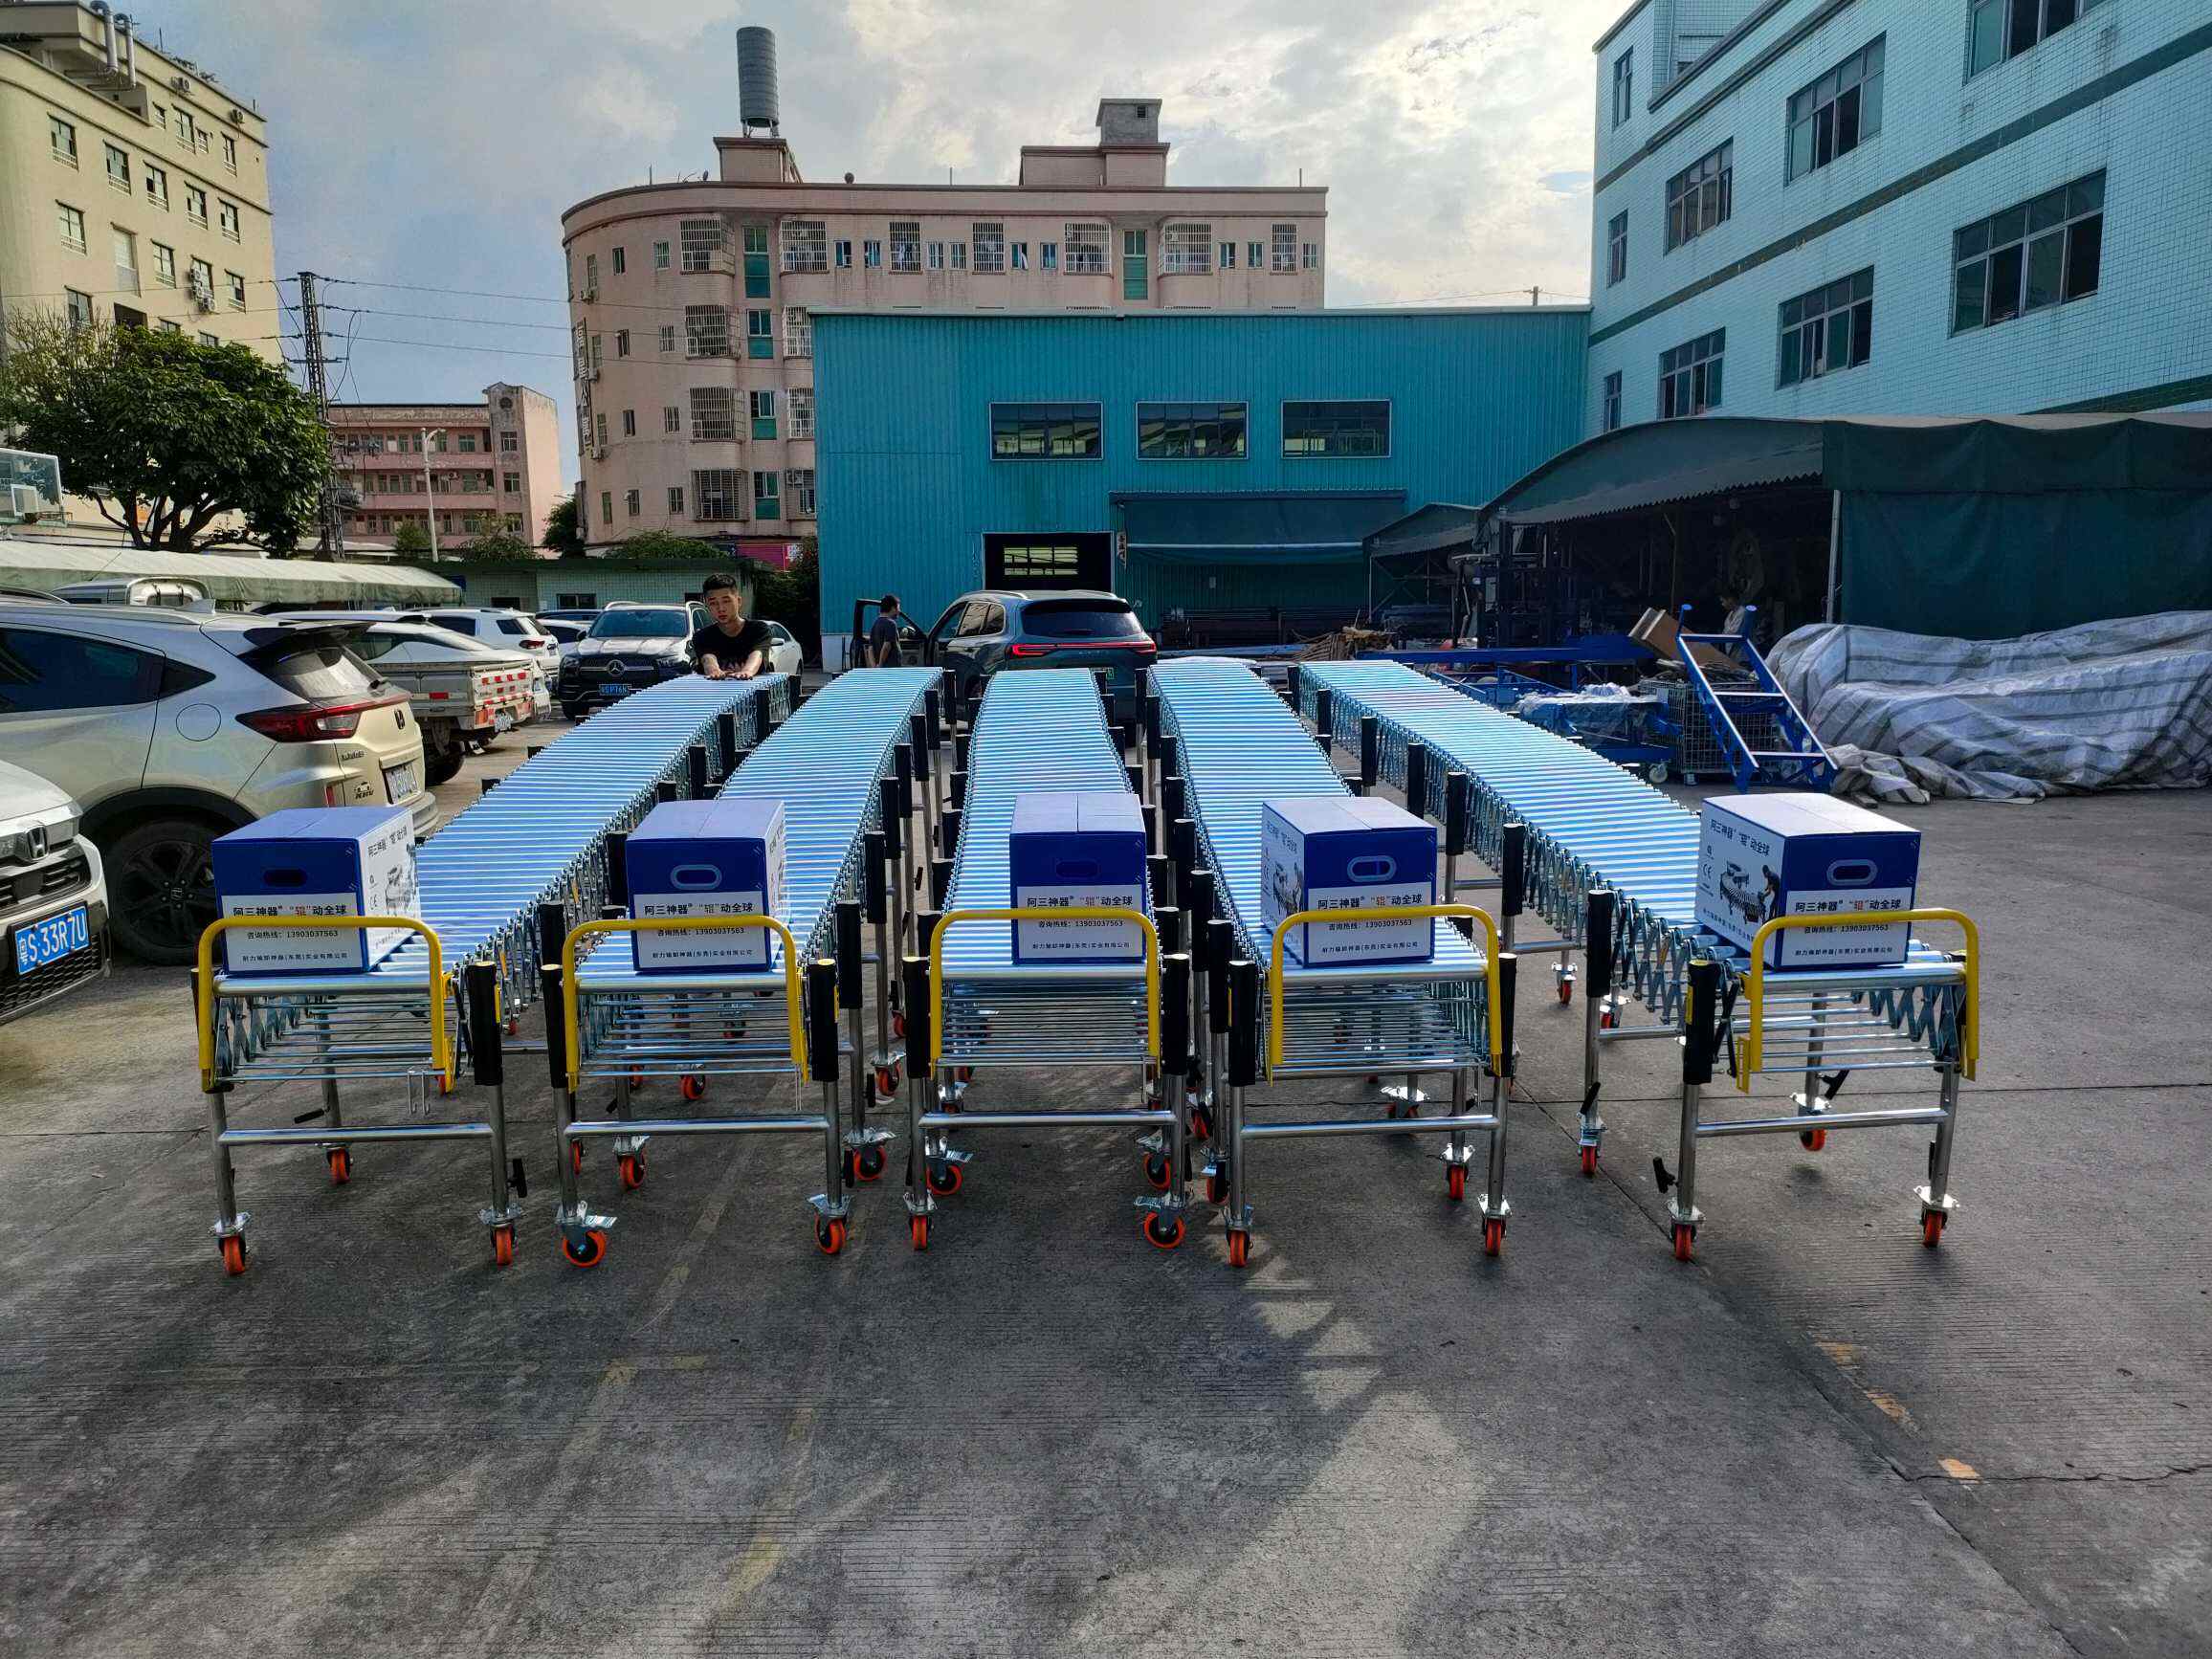
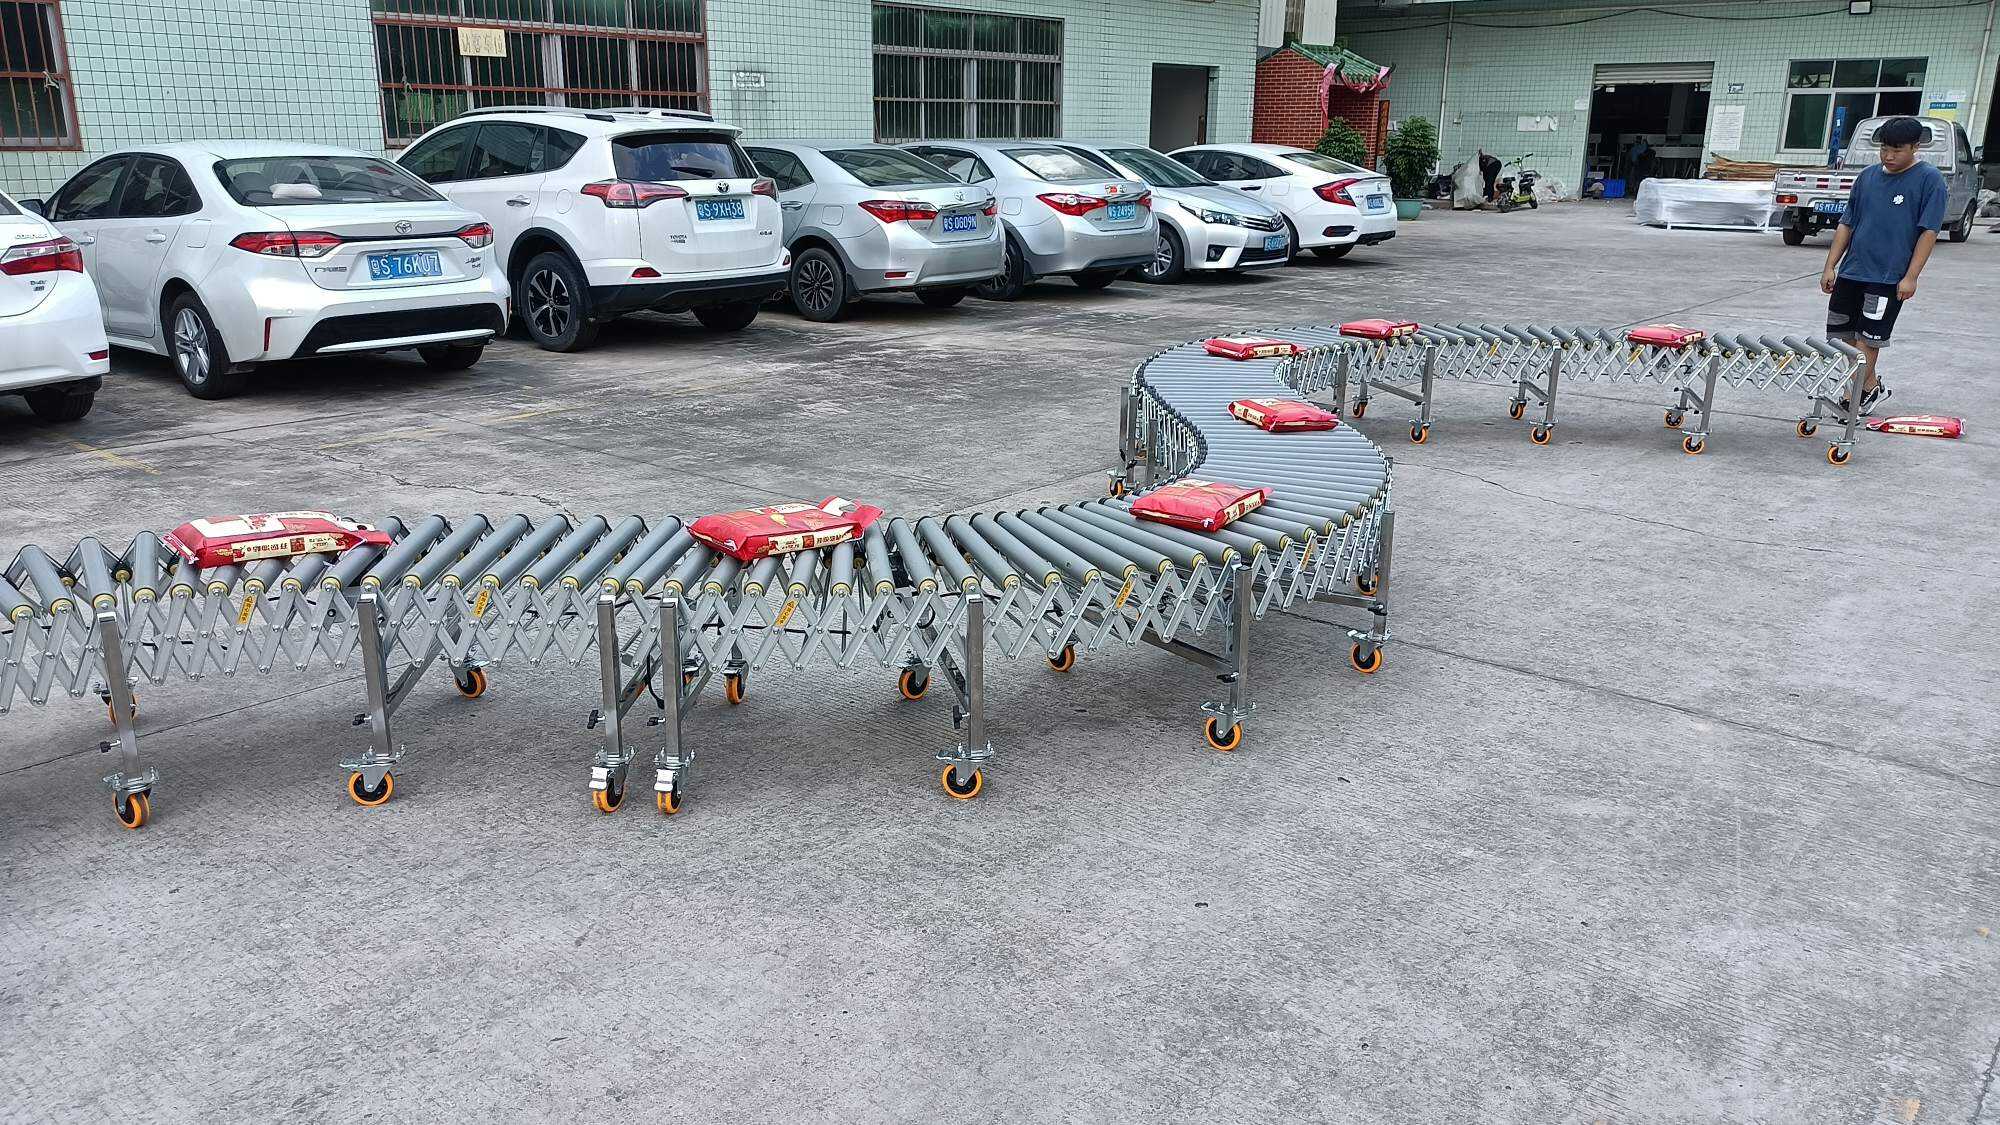
Hydraulic Conveyor solves the problem of crossing the height difference, but to deliver cargo efficiently to the deeper part of the truck bed, extra distance extending into the truck is still needed. To address this, the top platform of the Small/Medium/Large models comes with a bracket, allowing tool-free docking with standard gravity roller sections to form a combined channel of "belt climbing + in-truck extension".
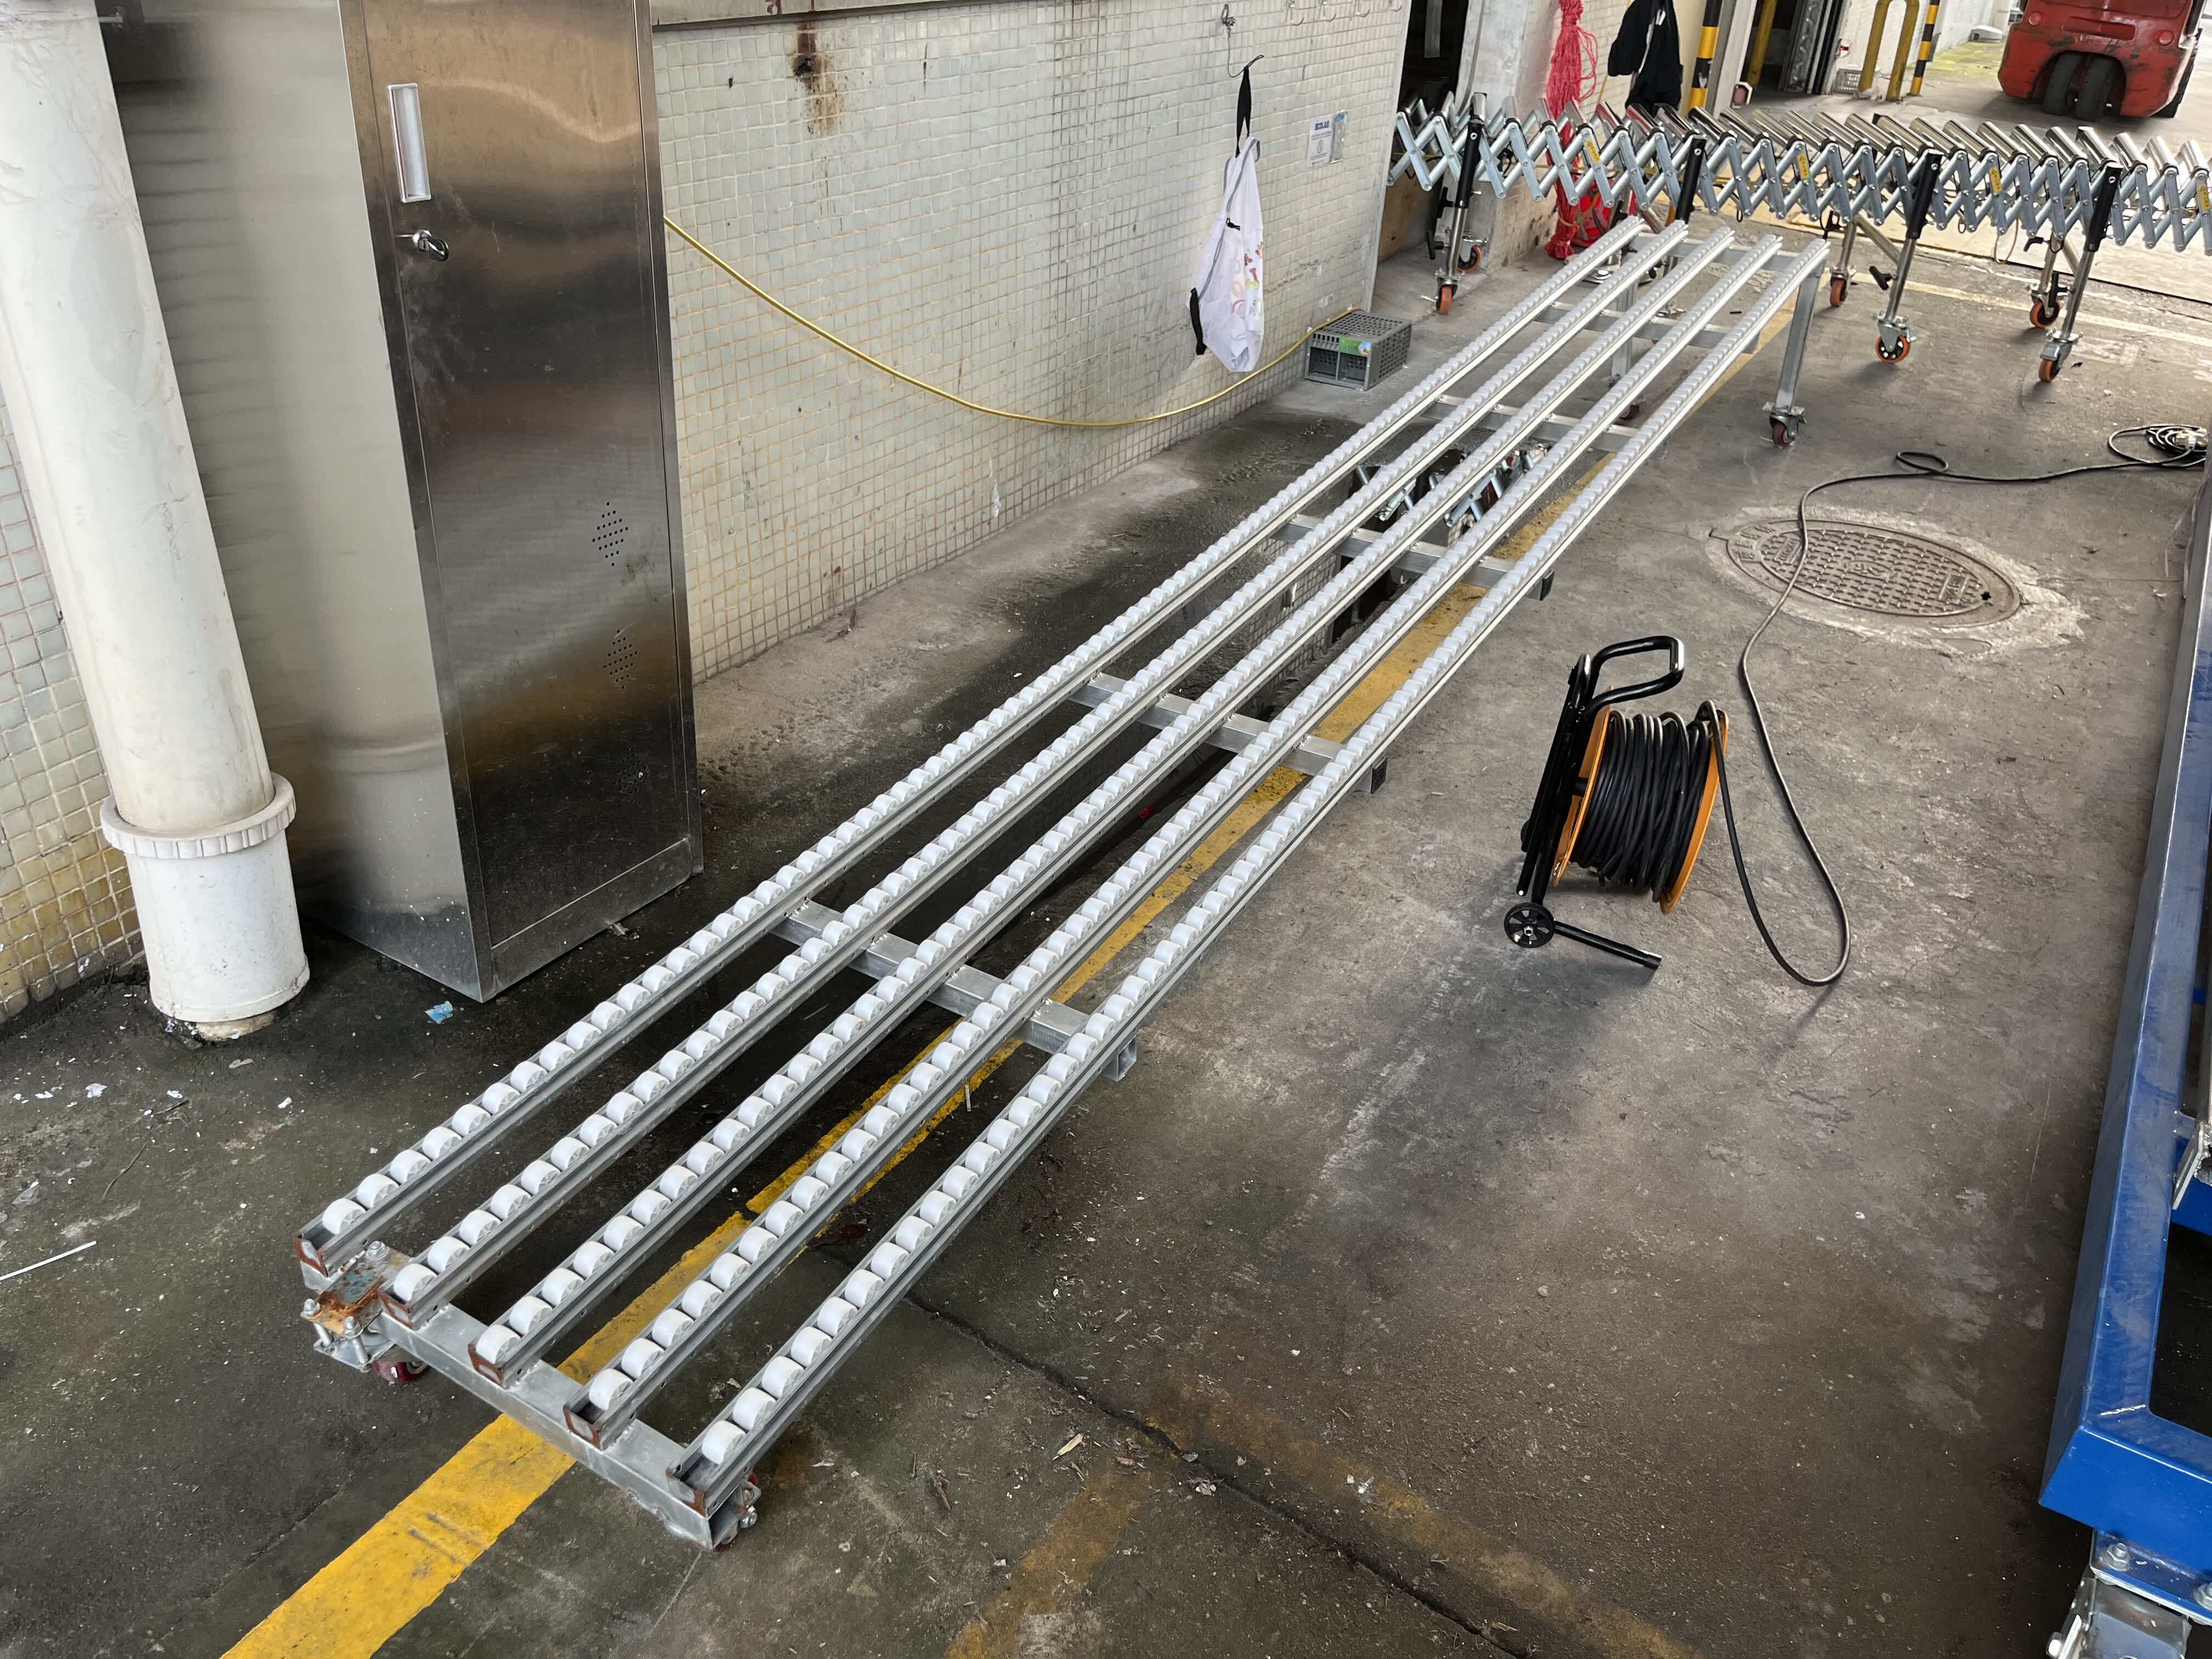
The recommended docking and usage steps can be carried out in the following order:
- Equipment alignment: move the conveyor to the rear door of the truck and lock the wheels
- Raise and align: lift the upper platform until it is flush with the truck floor
- Place the roller section: put the gravity roller section directly onto the top bracket
- Lock the connection: secure it with the built-in locking mechanism
- Extend into the truck: pull it out to the appropriate length as needed
- Set the angle: the roller section is usually set at an angle of about 2–5° to ensure smooth flow of goods
The value of this combination lies in expanding the loading channel from one that "only reaches the truck door" to one that can "extend deep into the truck, " thereby reducing the walking and handling required as workers frequently move in and out of the truck, and making the loading rhythm more continuous.
The gravity roller selection information provided in the article is as follows (both have a load capacity of 50 kg/m):
- 38 mm roller: extended length per section 1700 mm, extension ratio 1: 3
- 50 mm roller: extended length per section 1500 mm, extension ratio 1: 3
4-Step Ground Loading Process and Practical Tips
To put the equipment capability into practice on-site, it is recommended to use the "4-step method" to standardize the Hydraulic Conveyor ground loading process, making it easier for team training and handover.
Step 1: Position and lock the wheels
- Push the equipment to the truck rear door using the casters
- After alignment, lock the casters to prevent movement during operation
Step 2: Power connection preparation
- Connect the power supply (220V/380V) and confirm that the power supply distance meets the operating range
Step 3: Lift, align, and add roller extension
- Use the control panel to raise the upper platform so it is flush with the truck floor
- Add a gravity roller section as needed and extend it into the truck
- Set a slight downward angle for the roller section (usually 2–5°)
Step 4: Start conveying and optimize the stacking sequence
- Start the belt in forward rotation to begin loading
- Organize the loading sequence: it is generally recommended to start stacking from the front of the truck and then gradually move toward the door
- Make reasonable use of the truck width, stack securely, and avoid shifting during transport
As for staffing, a common approach is two-person cooperation:
- 1 person continuously loads goods at the lower end
- 1 person sorts, guides, and stacks goods at the upper end or inside the truck
Under conditions where the goods are lighter or the pace is slower, one person can also complete the work by alternating between loading and sorting.
It is recommended to do a quick check of on-site conditions before operation:
- The ground is flat and solid (better suited for use on stable surfaces such as concrete)
- Reserve enough space for passage and transfer to avoid interference between people and vehicles
- For outdoor use, consider adding a simple rain shelter to reduce the impact on electrical components
For maintenance, simply follow the frequency specified in the article:
- Monthly: check hydraulic oil level
- Quarterly: check hydraulic seals and bearing condition
- Regularly: lubricate moving parts
- Weekly: check belt tension and wear
Further reading: