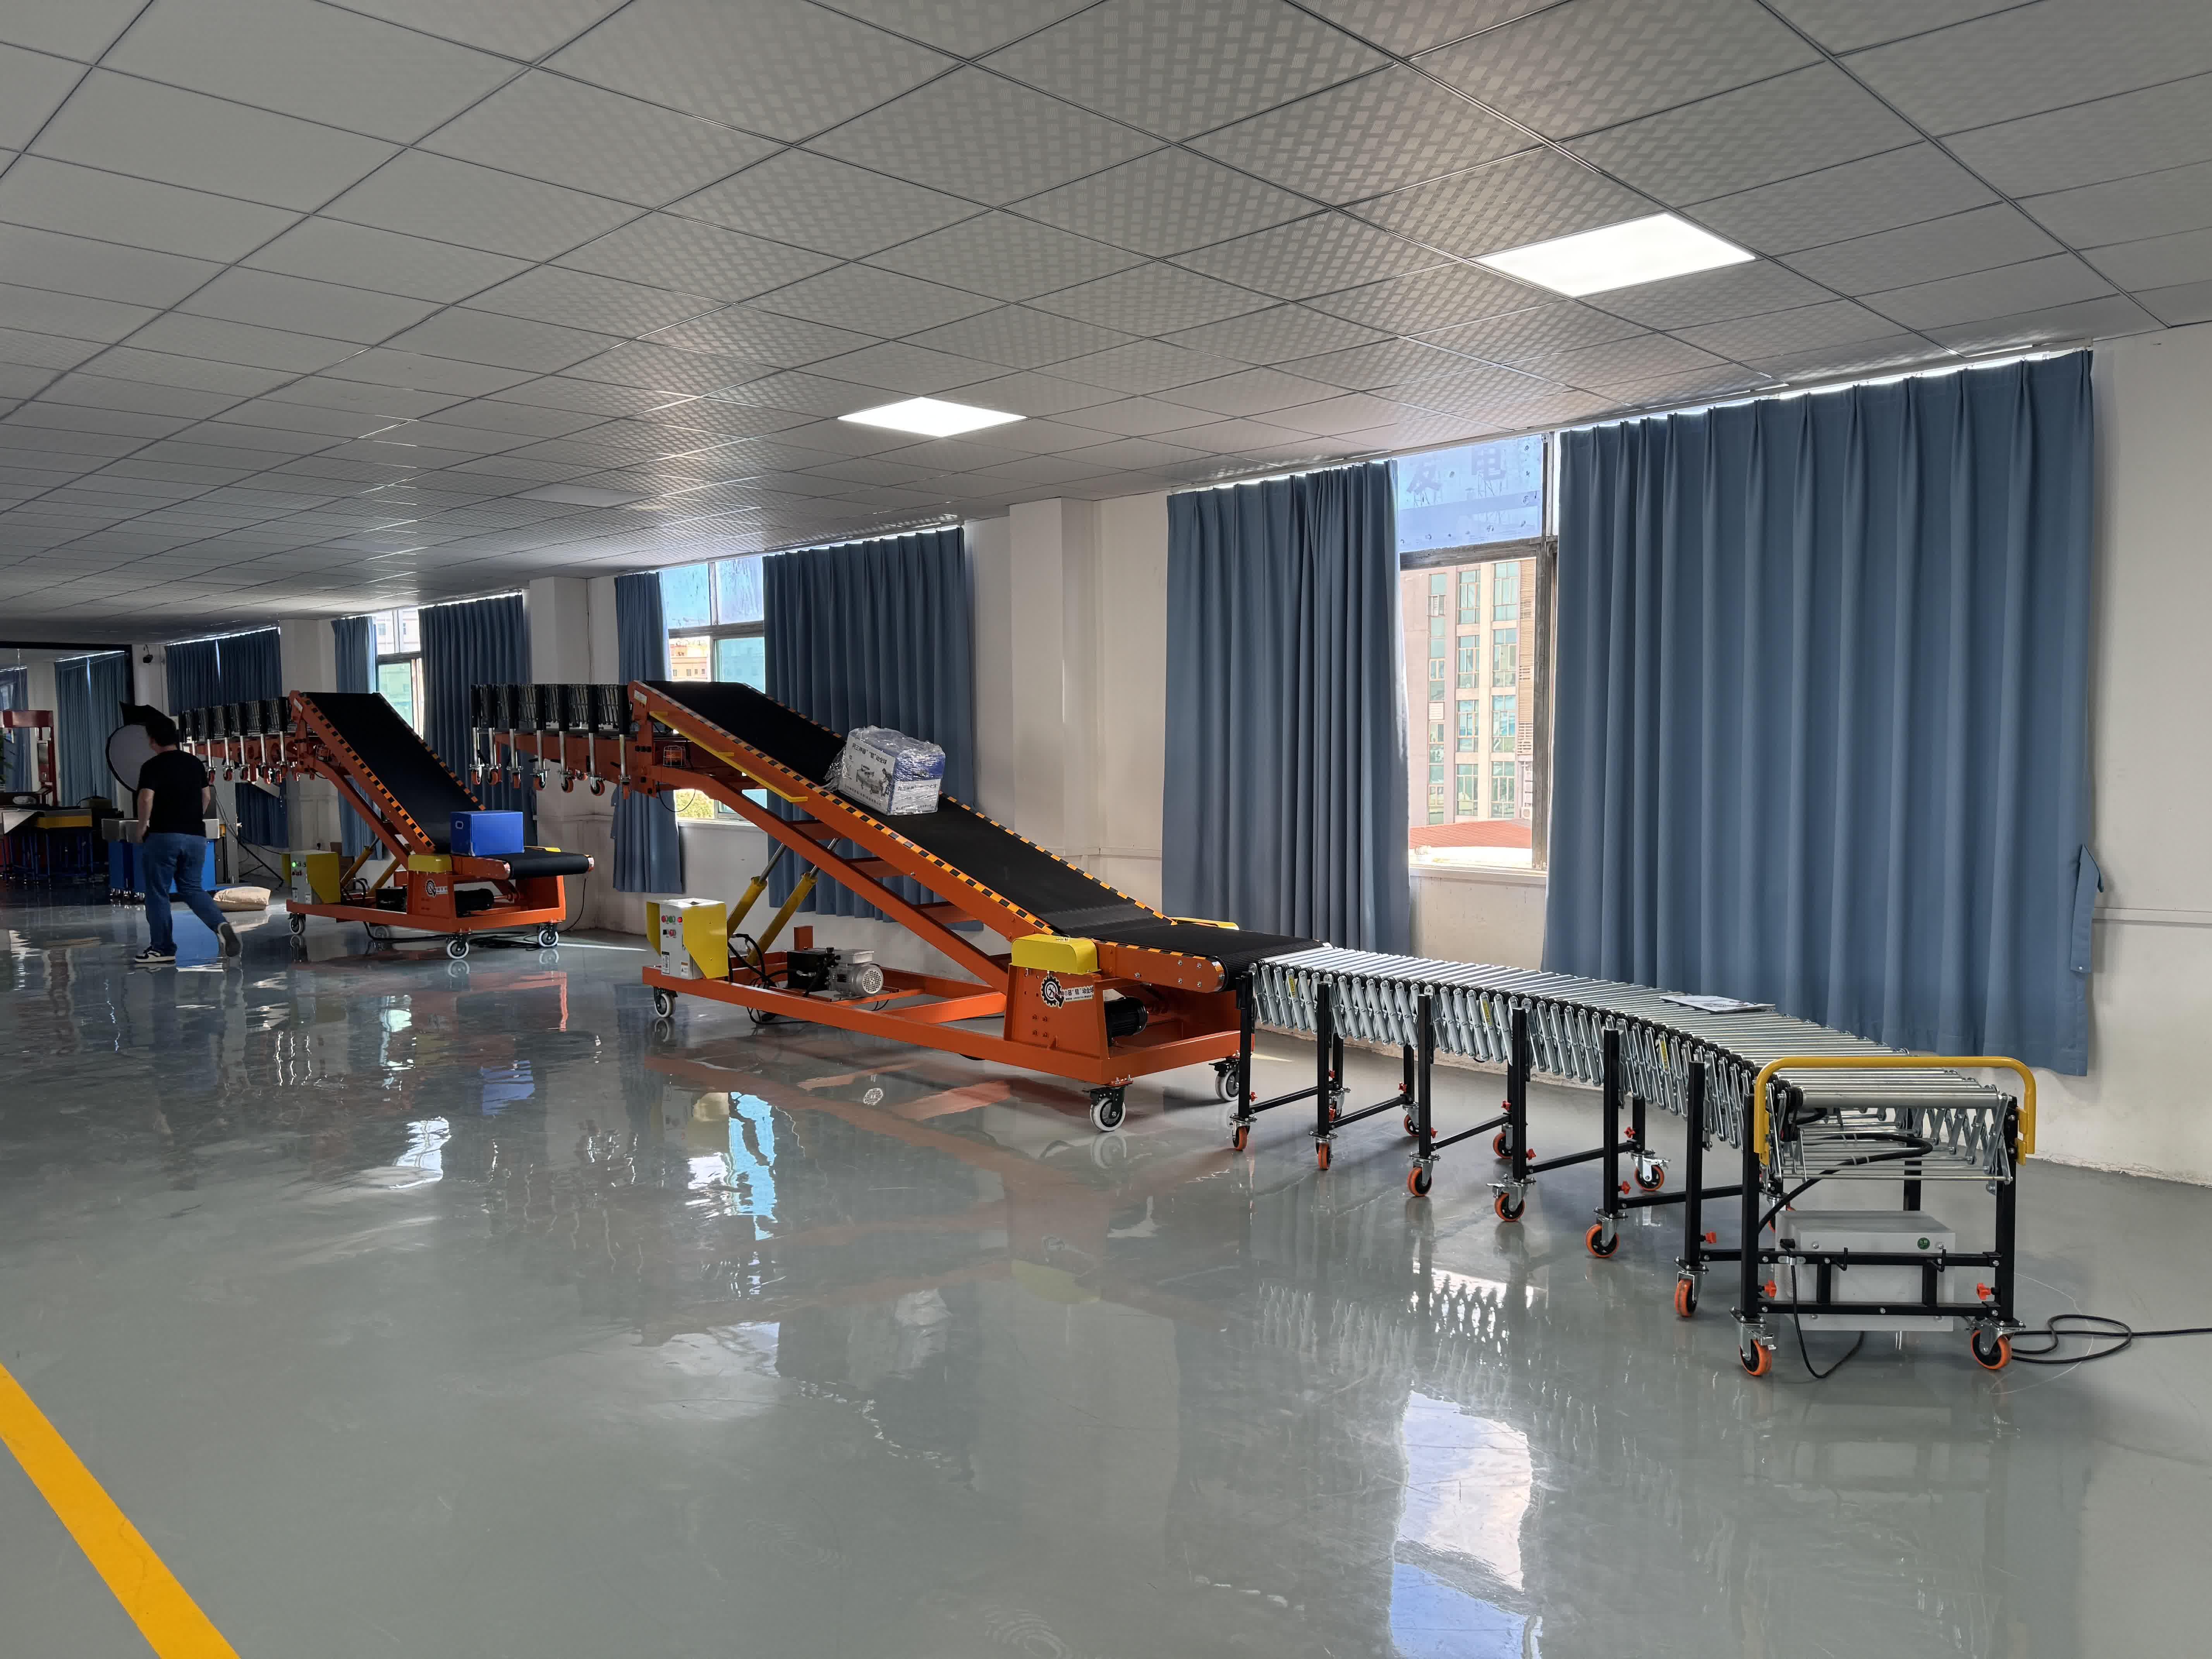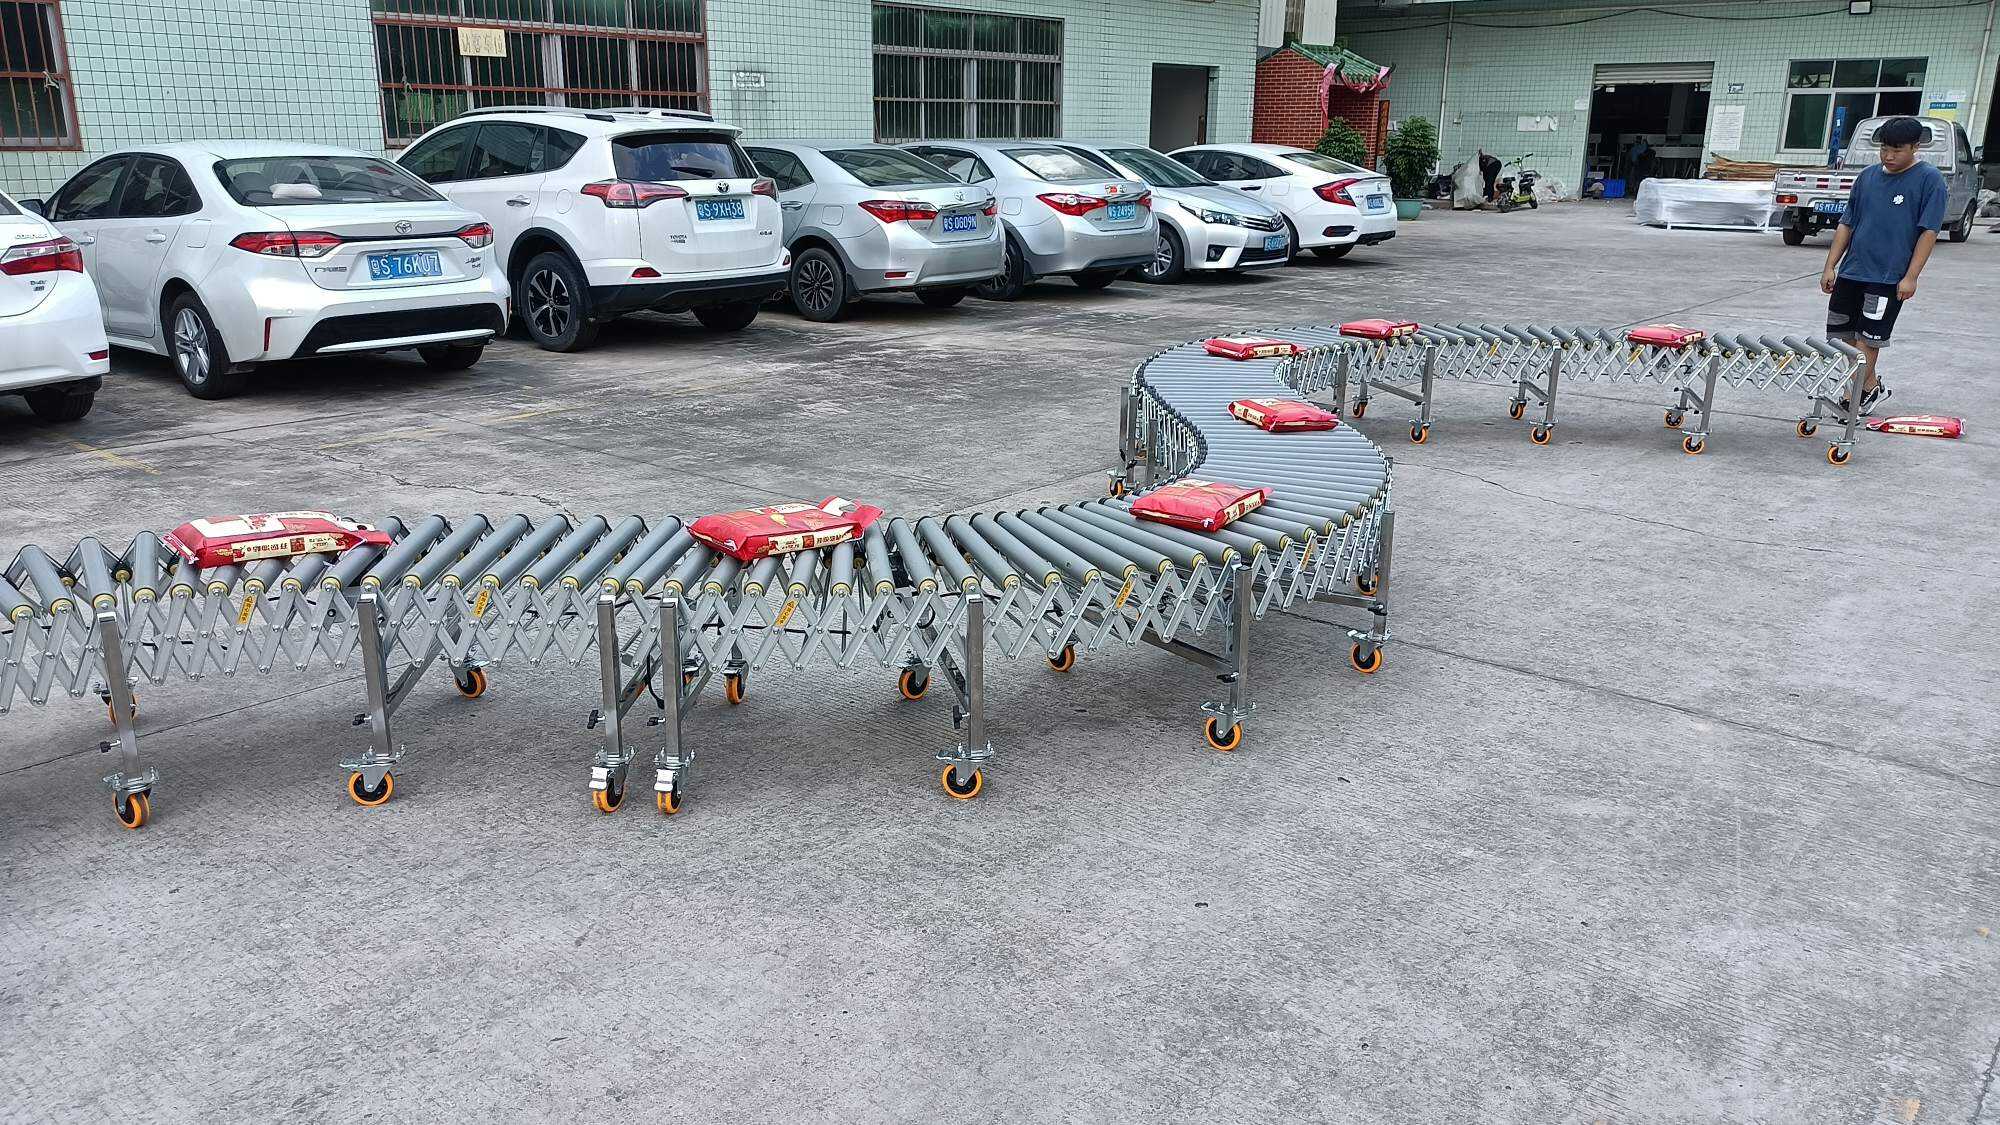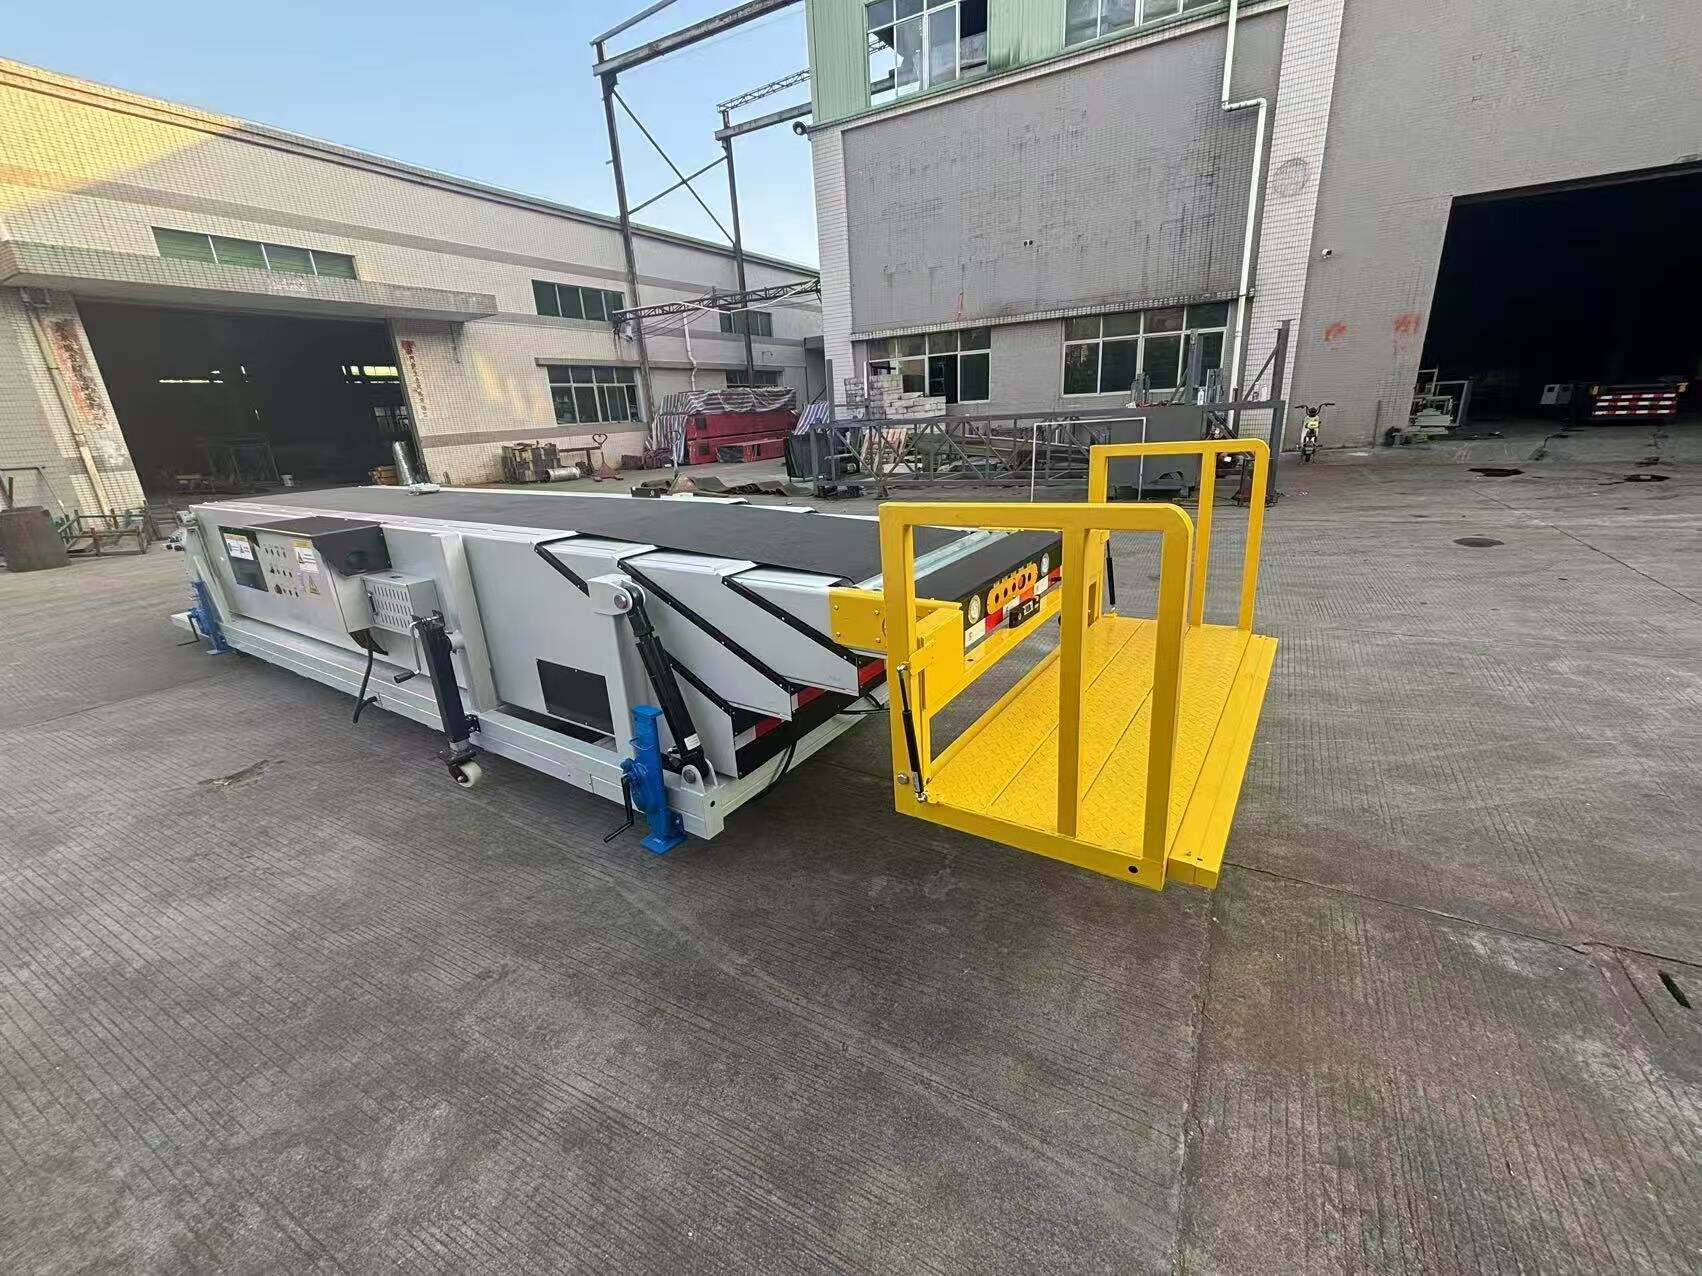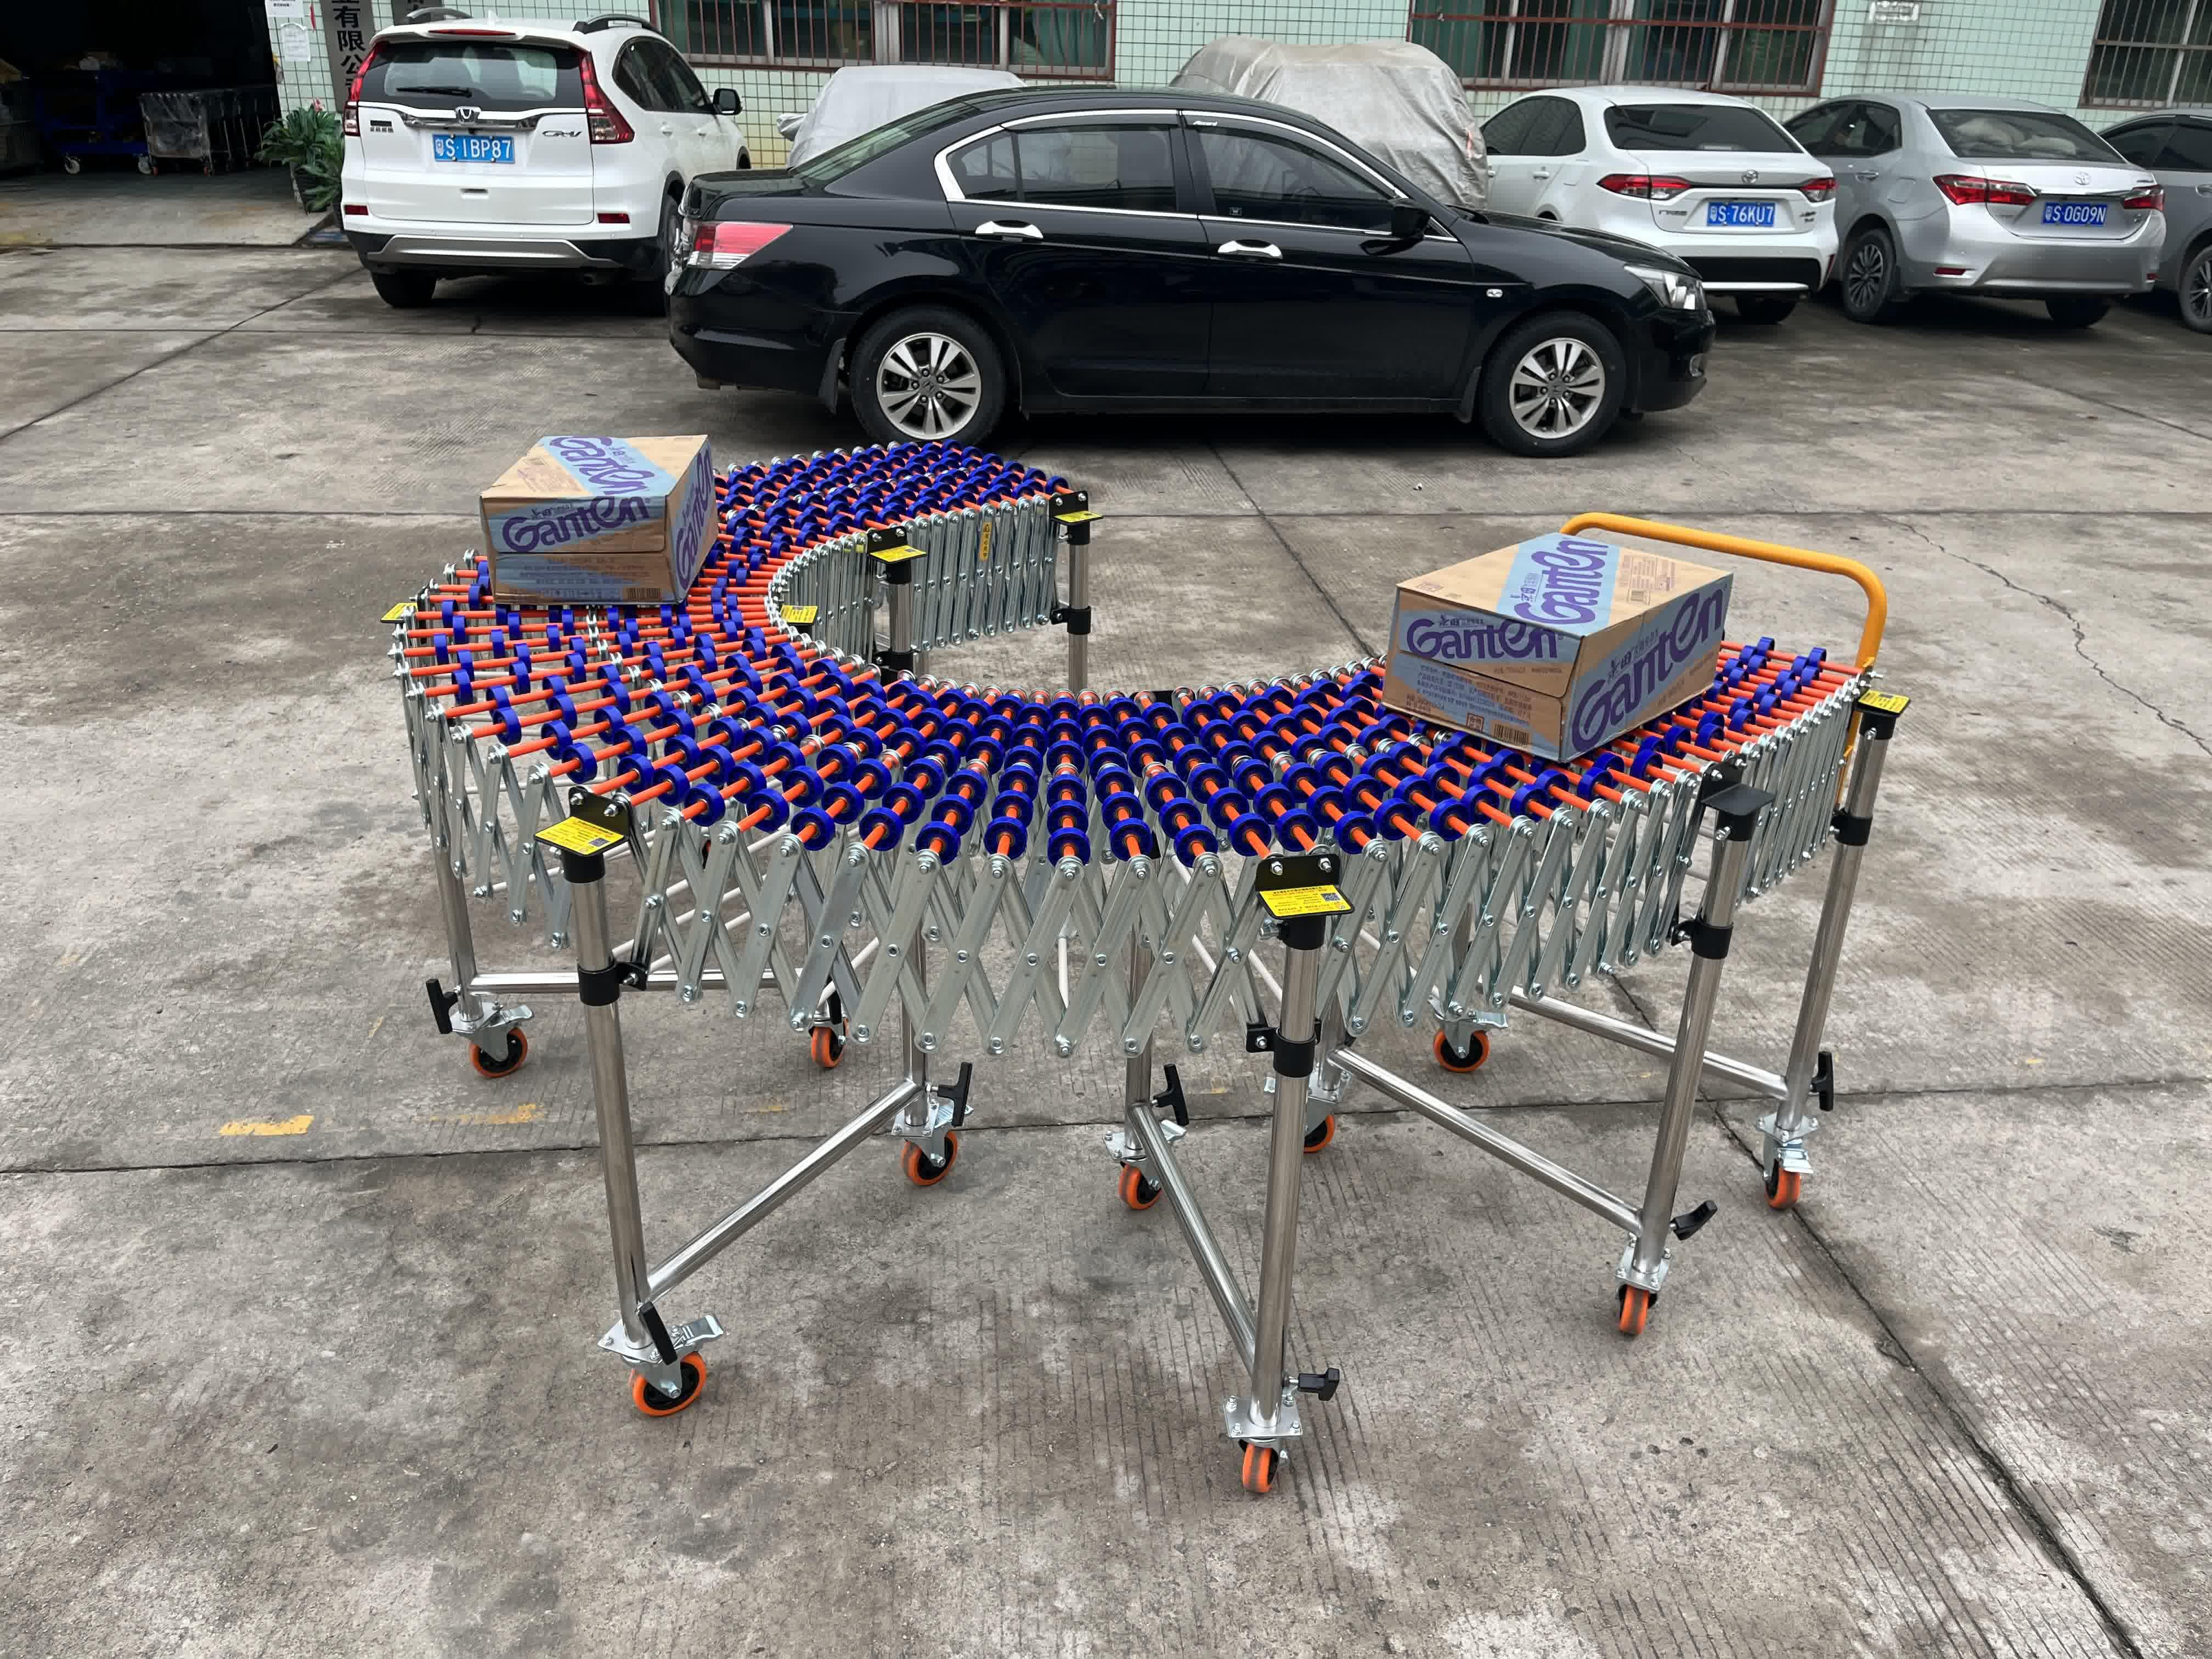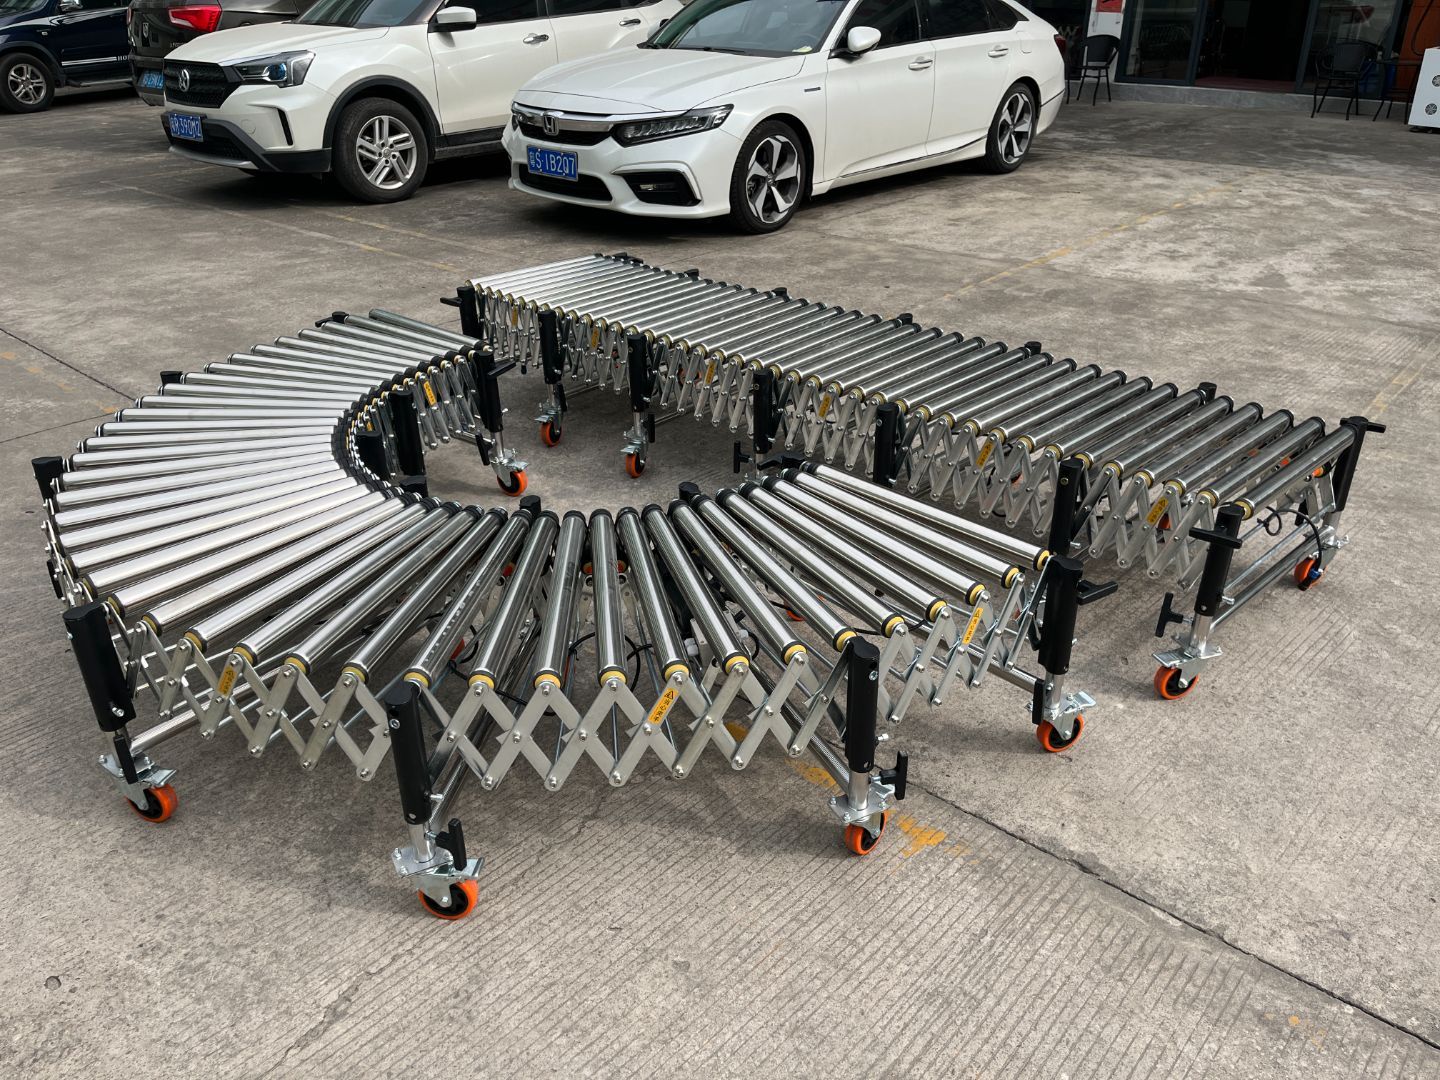
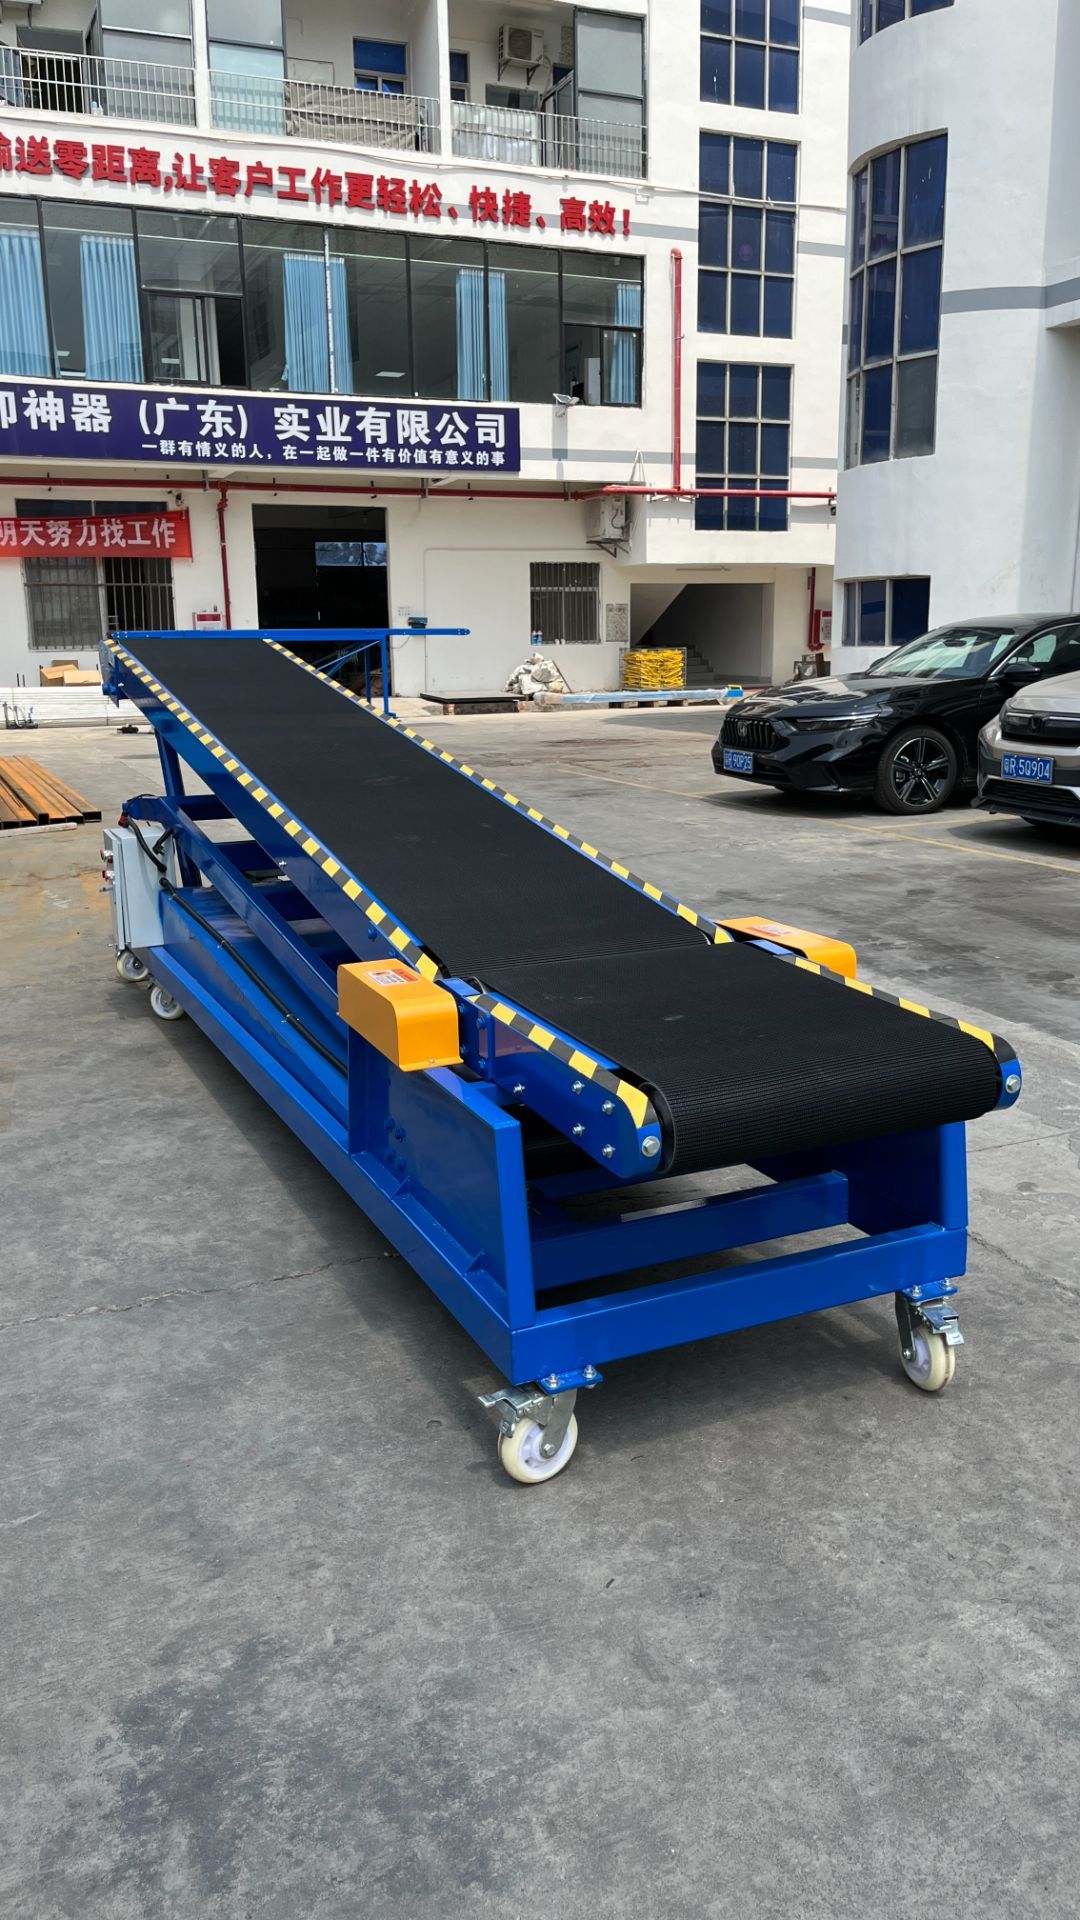
Thank you very much for using our companyHydraulic Conveyorseries products. To ensure the machine operates normally and reliably, please be sure to read this manual before using the machine. While we continue to improve product performance and quality, we also hope to learn whether you encounter any quality issues or dissatisfaction during use. If you can offer better suggestions that are suitable for production, our company will sincerely adopt and implement them carefully.
Before the machine is actually put into operation, please first pay attention to the operating (use) conditions provided in the technical data. This machine has stable performance, but improper user setup (installation) or use may cause certain functions or phenomena to be mistaken for faults. Therefore, when a problem occurs, first check whether there has been improper installation or use, and carefully observe the machine’s condition to find the cause.
If the problem cannot be resolved, please contact us to obtain the necessary service. We are not responsible if safety requirements are not met during operation, running, maintenance, or repair, even if these terms are not stated in this manual.
1. Handling and transportation process
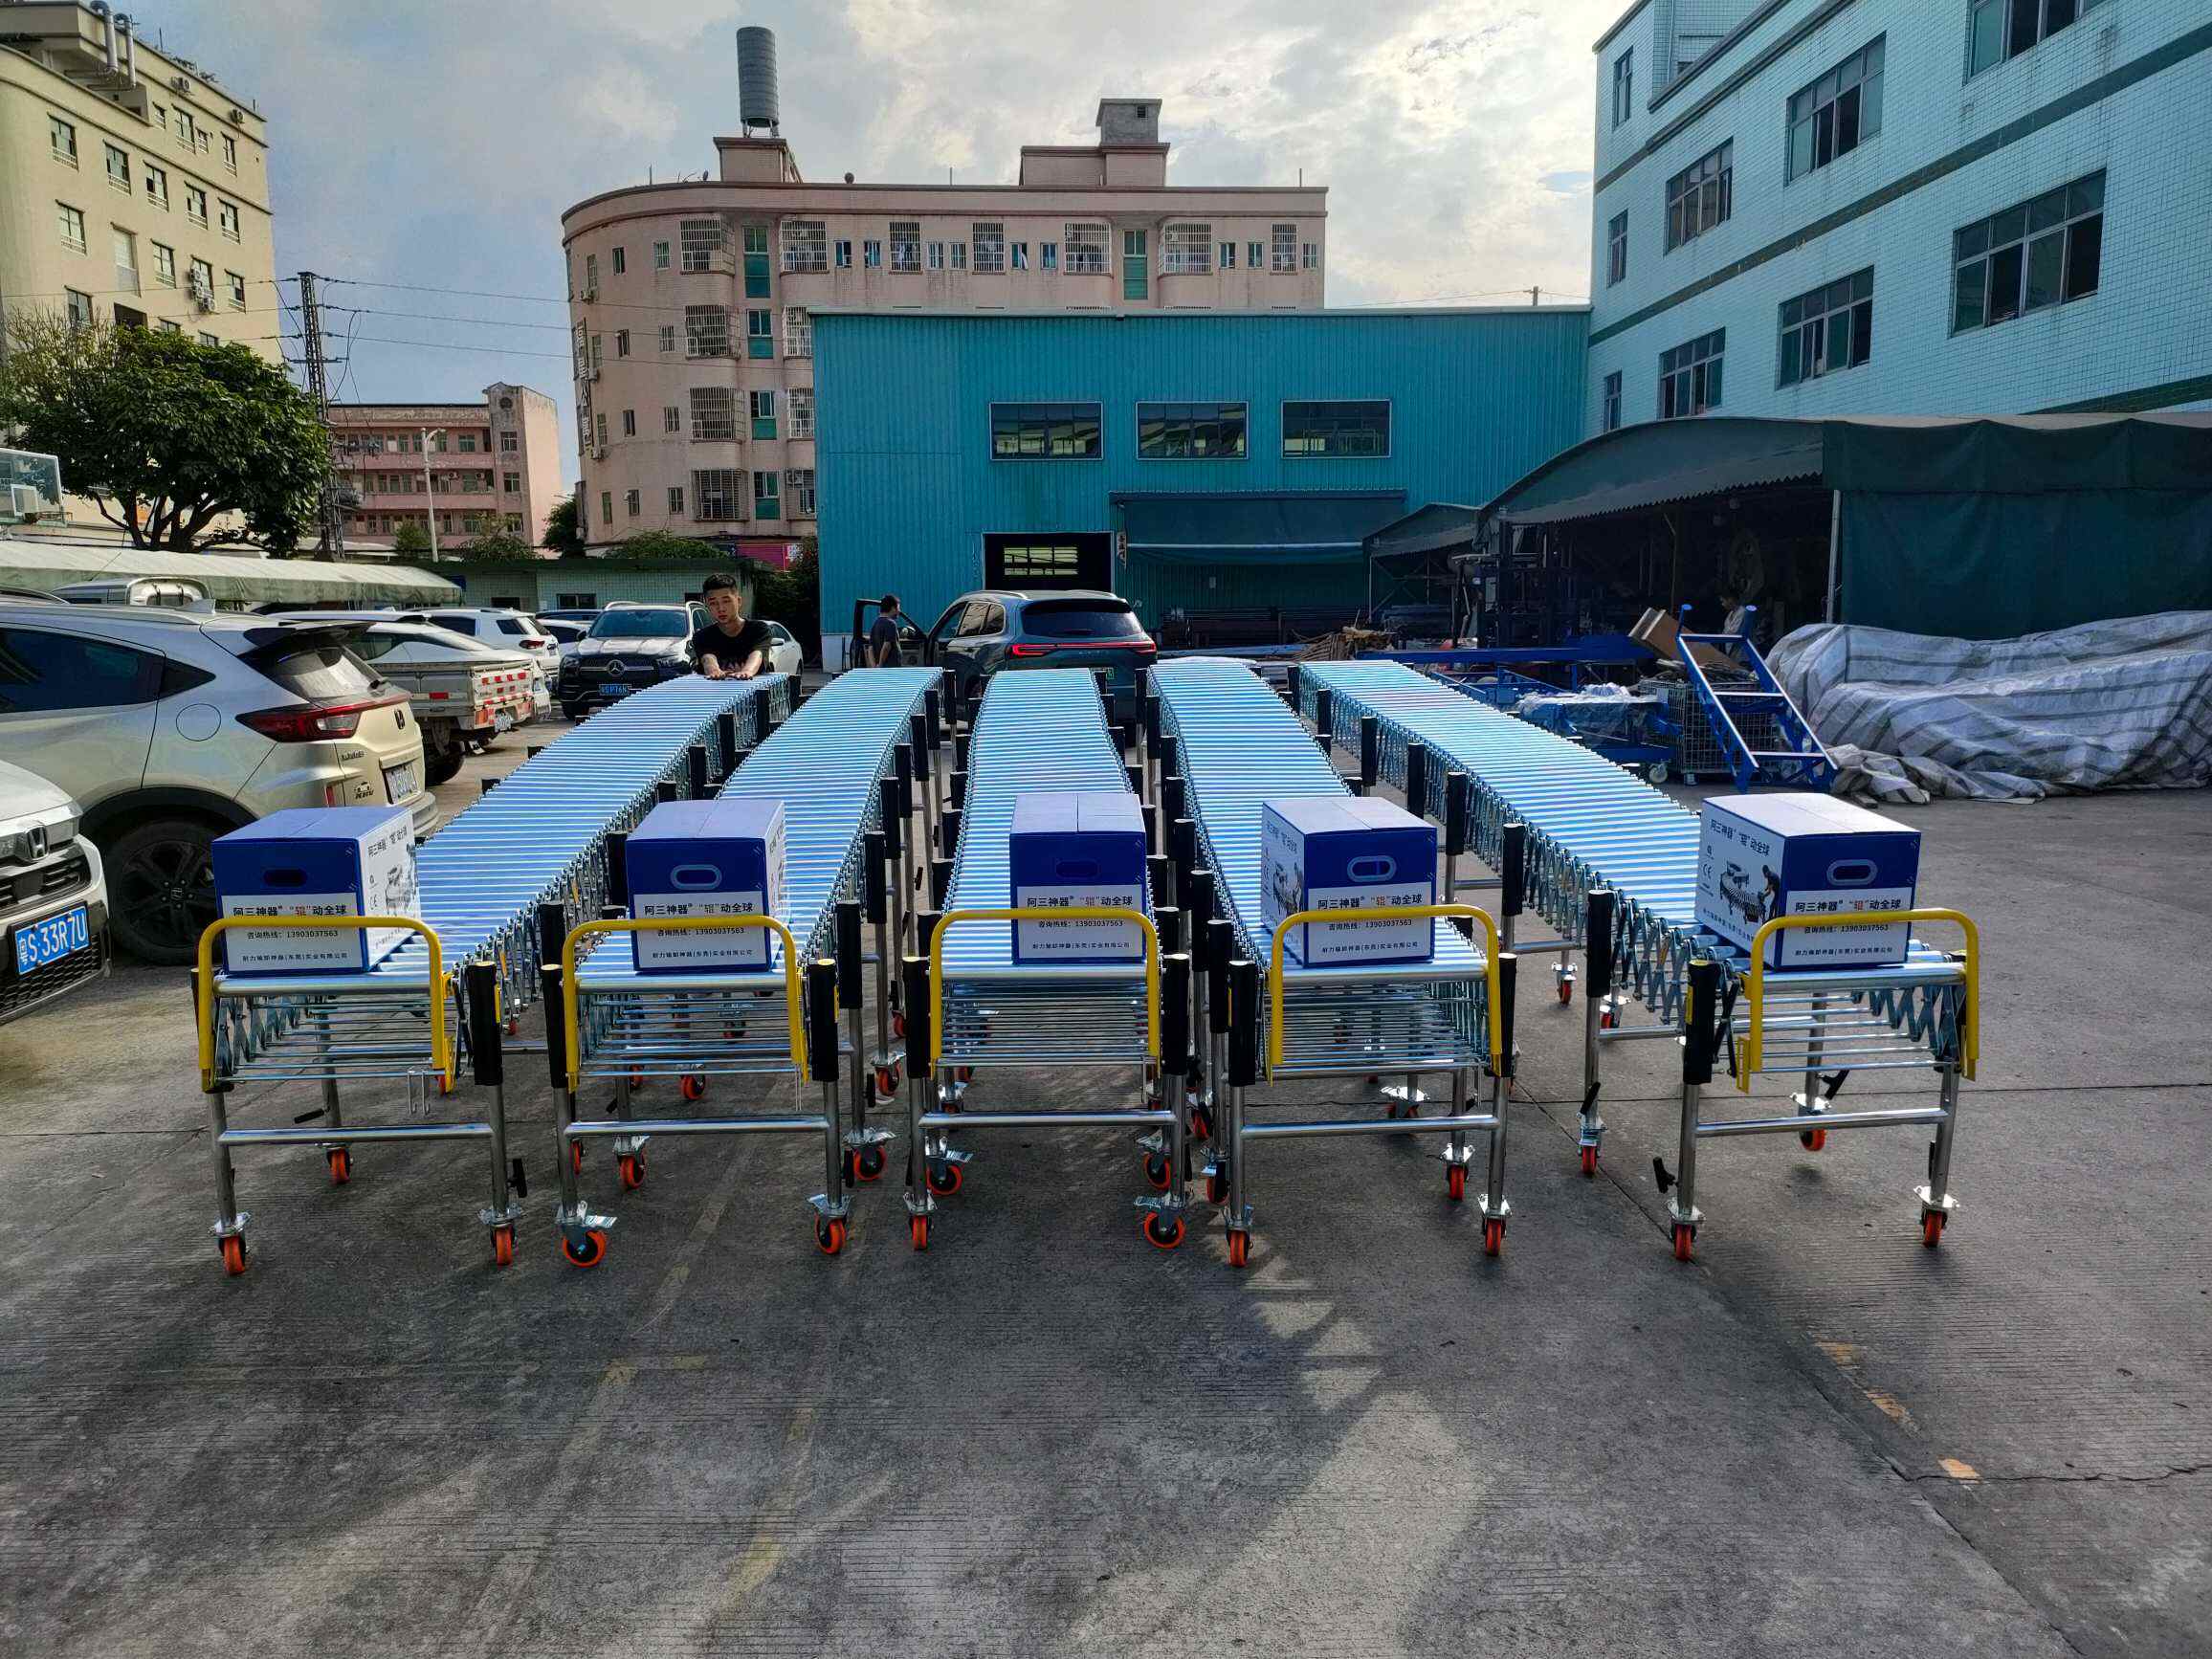
- During handling and hoisting, the telescopic line should be protected from heavy swinging and collisions
- To prevent damage to the telescopic line and parts, handle with care and do not apply heavy pressure
- Use a powered forklift for normal loading and unloading handling
- When you receive the goods, please check whether they were damaged during logistics transportation, and inform us promptly if there is any damage
2. Installation precautions
Situations to avoid for installation
- Places exposed to direct sunlight (affects motor heat dissipation)
- Places where rainwater, dripping pipes, or water vapor may come into contact (may cause motor short circuits and machine rust)
- Areas with flammable gases or items around them
- Areas with chemical or corrosive gases (such as electroplating tanks and electrolytic cells), etc.
3. Installation and use
1. Align the rack groove with the load-bearing shaft and snap it into place
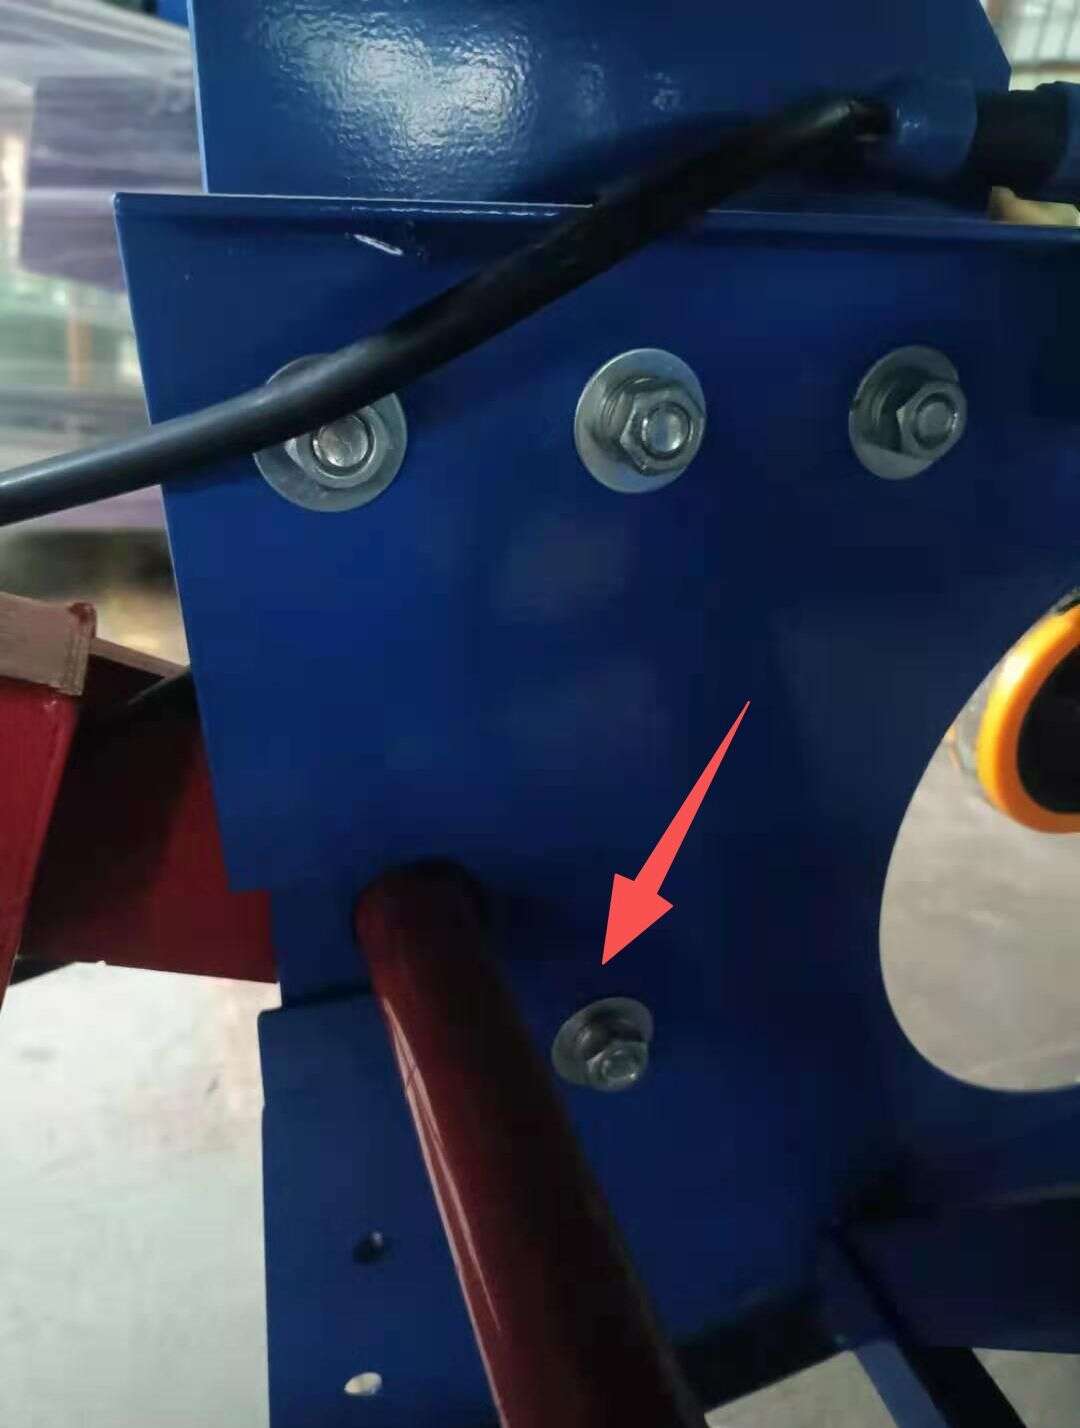
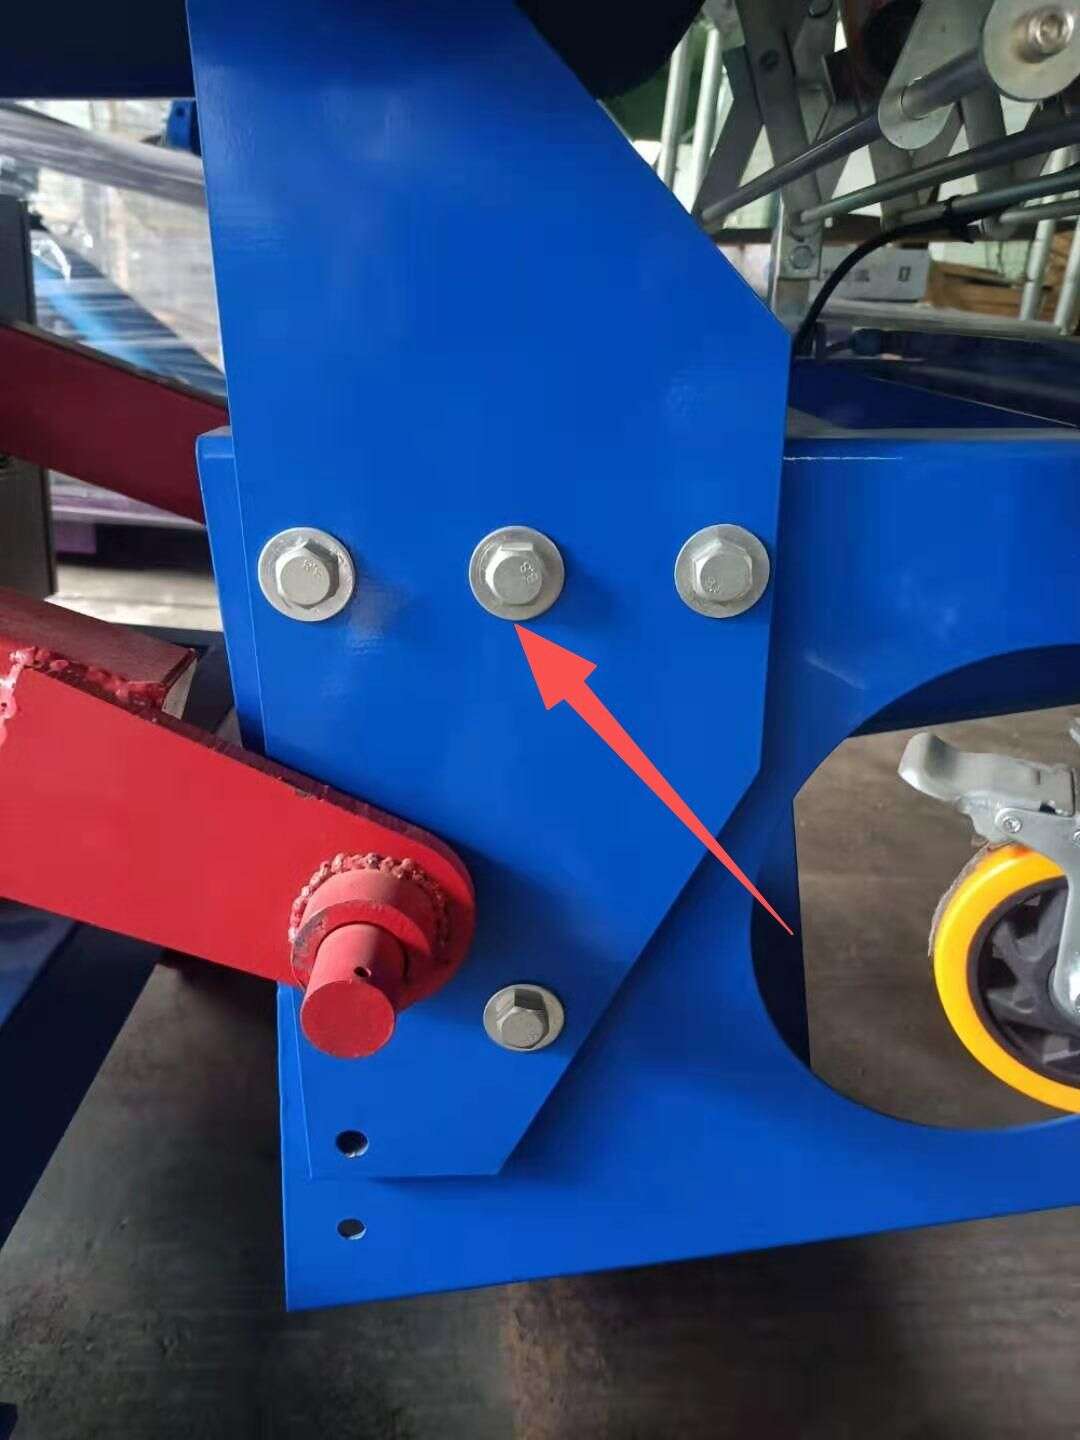
2. Tighten the screws on both sides, then place the roller line onto the rack
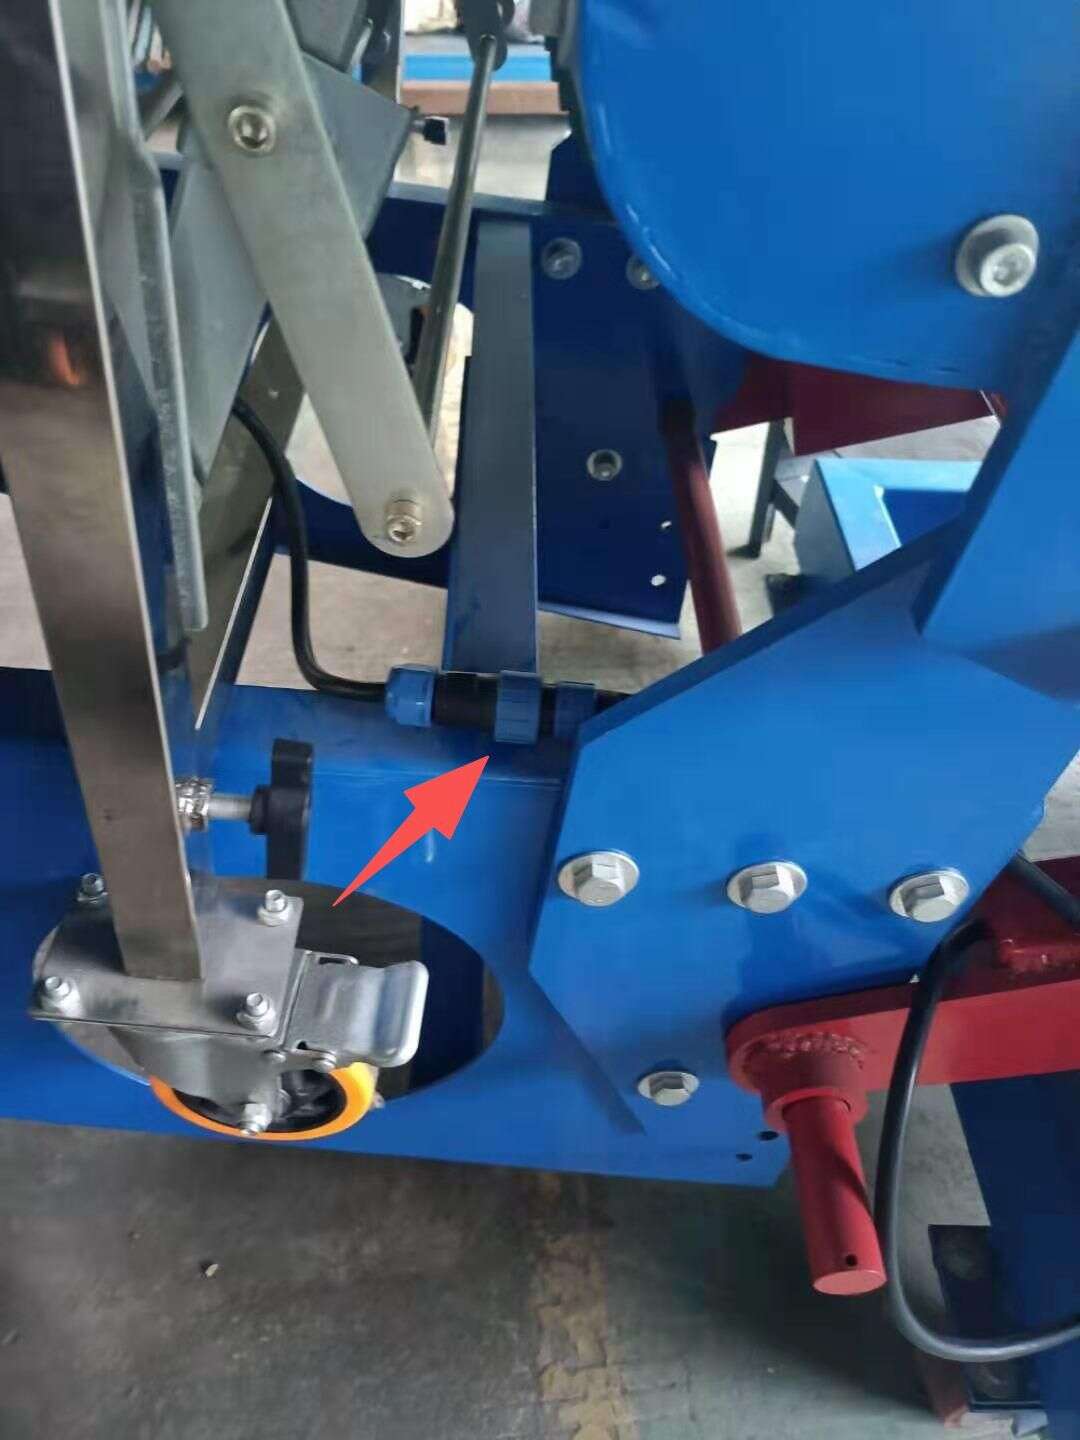
3. Connect the aviation plug of the roller conveyor and the incline conveyor, then plug in the power supply to use it.
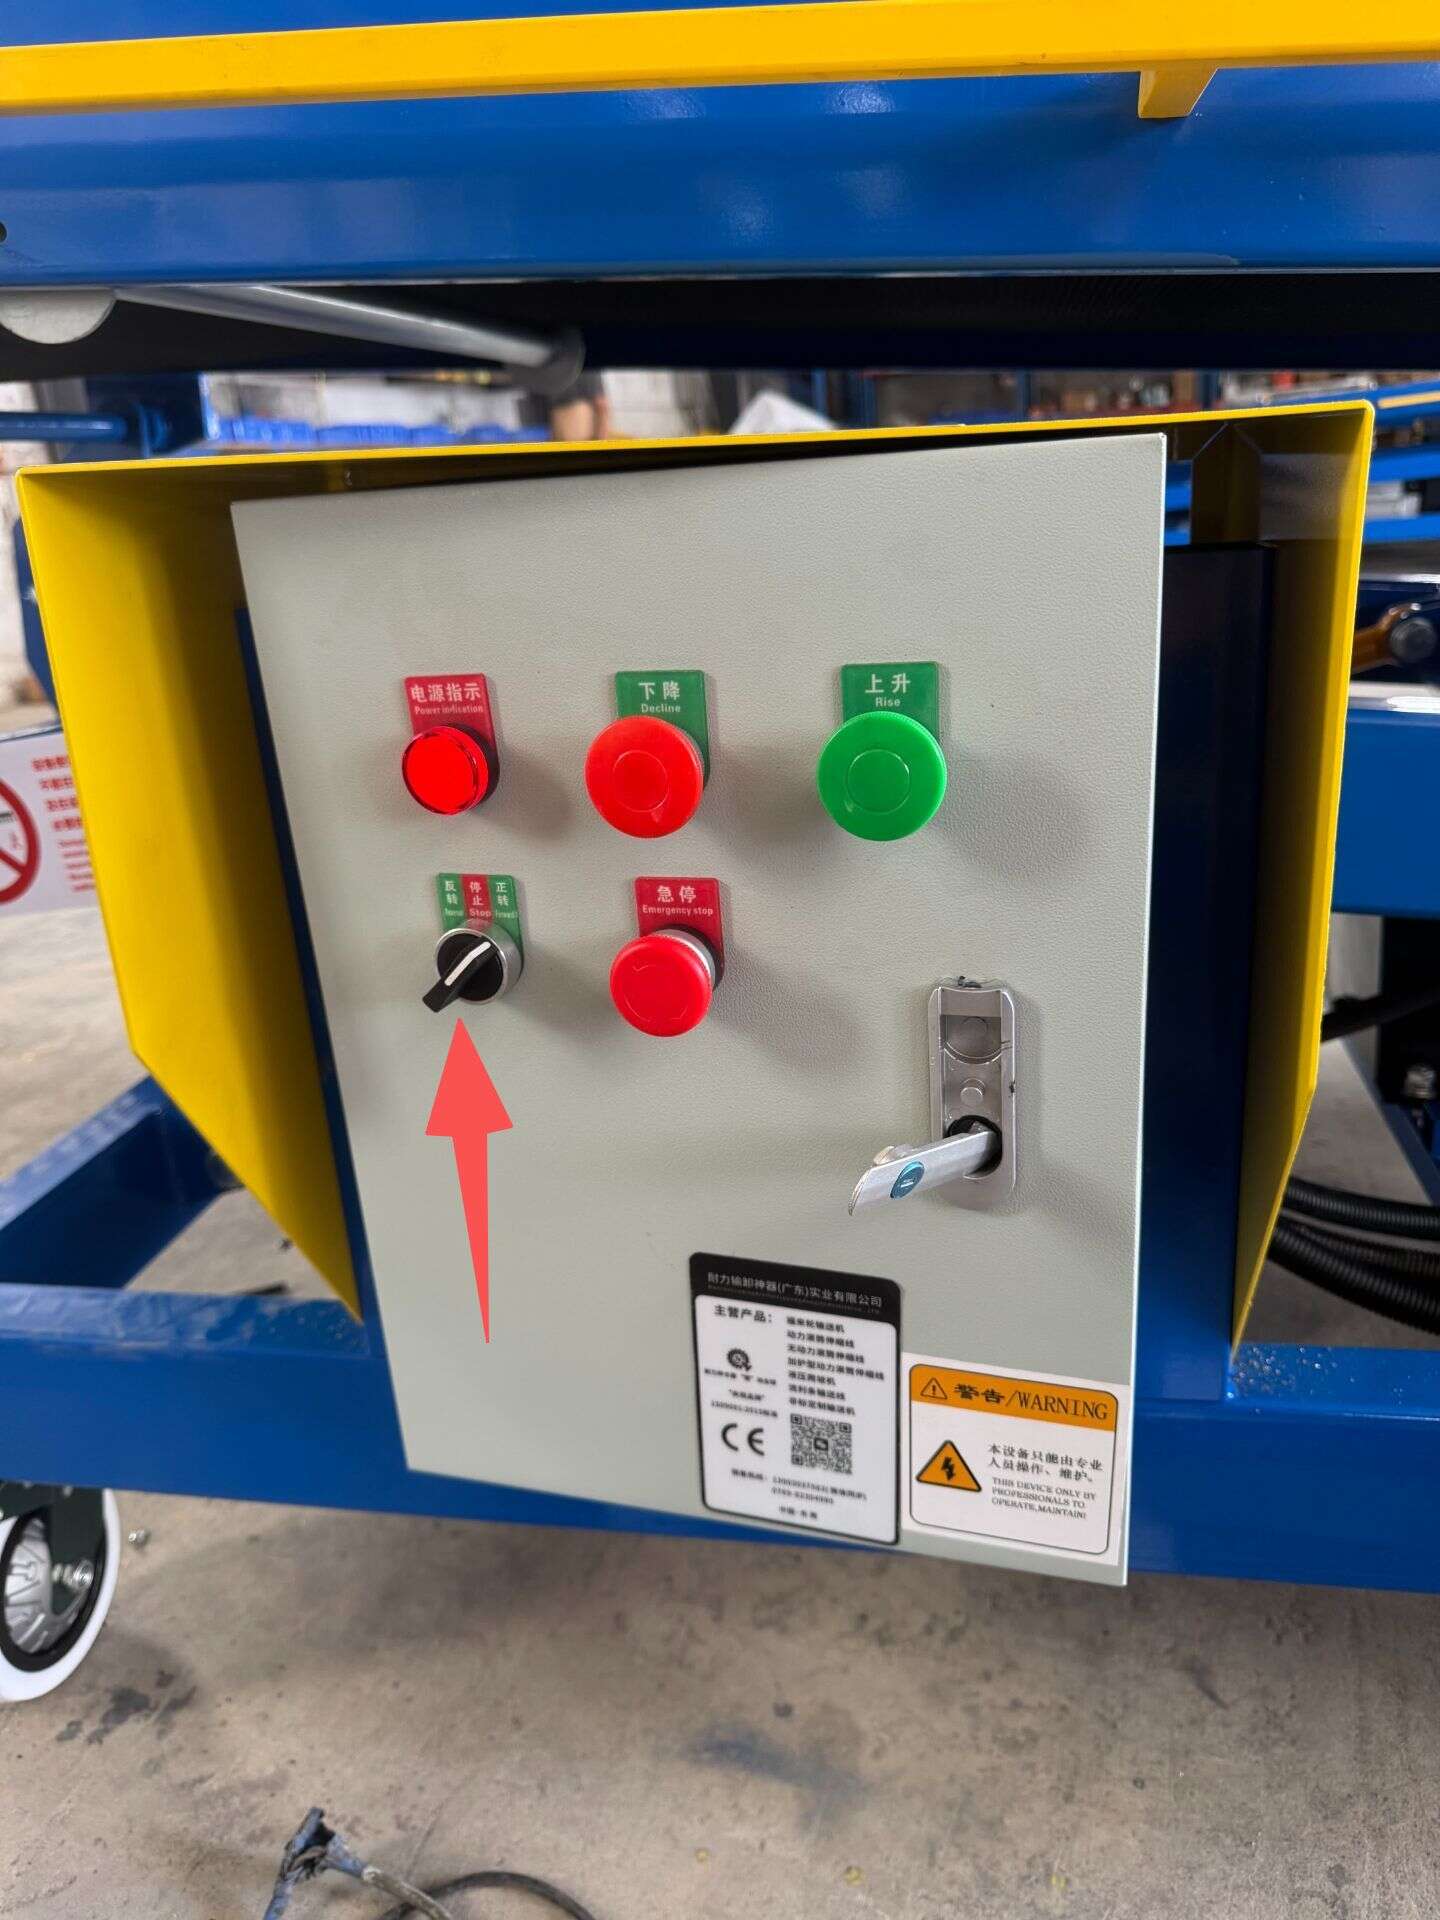
4. After plugging in the power supply, the control box will show power:
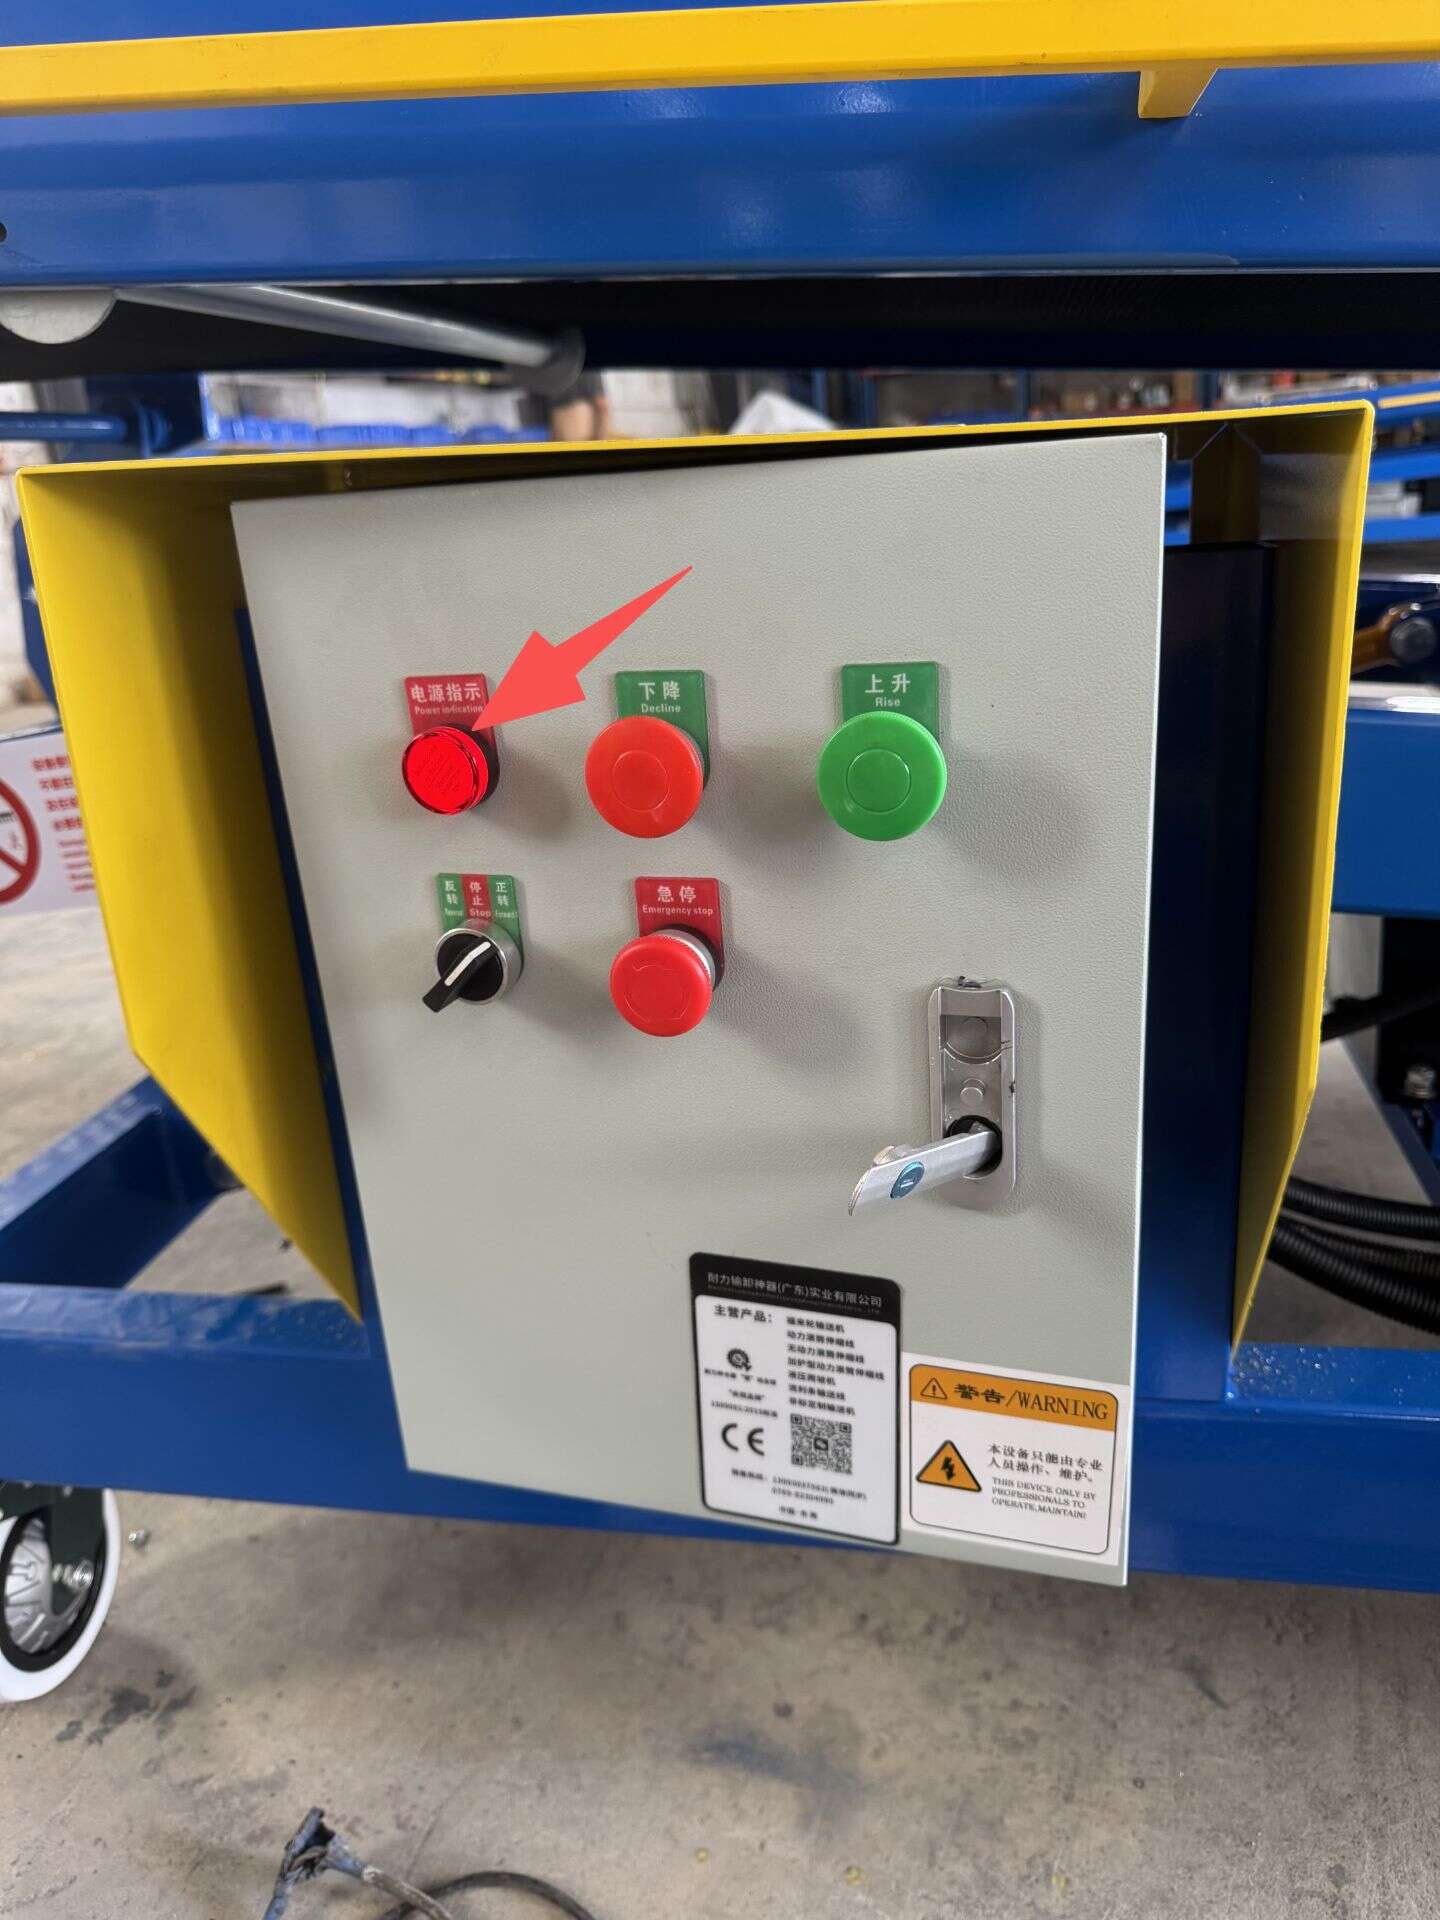
a. Green button: Up
b. Red button: Down
c. Black switch: Forward/Reverse
d. With arrow: Emergency stop
4. Daily Maintenance
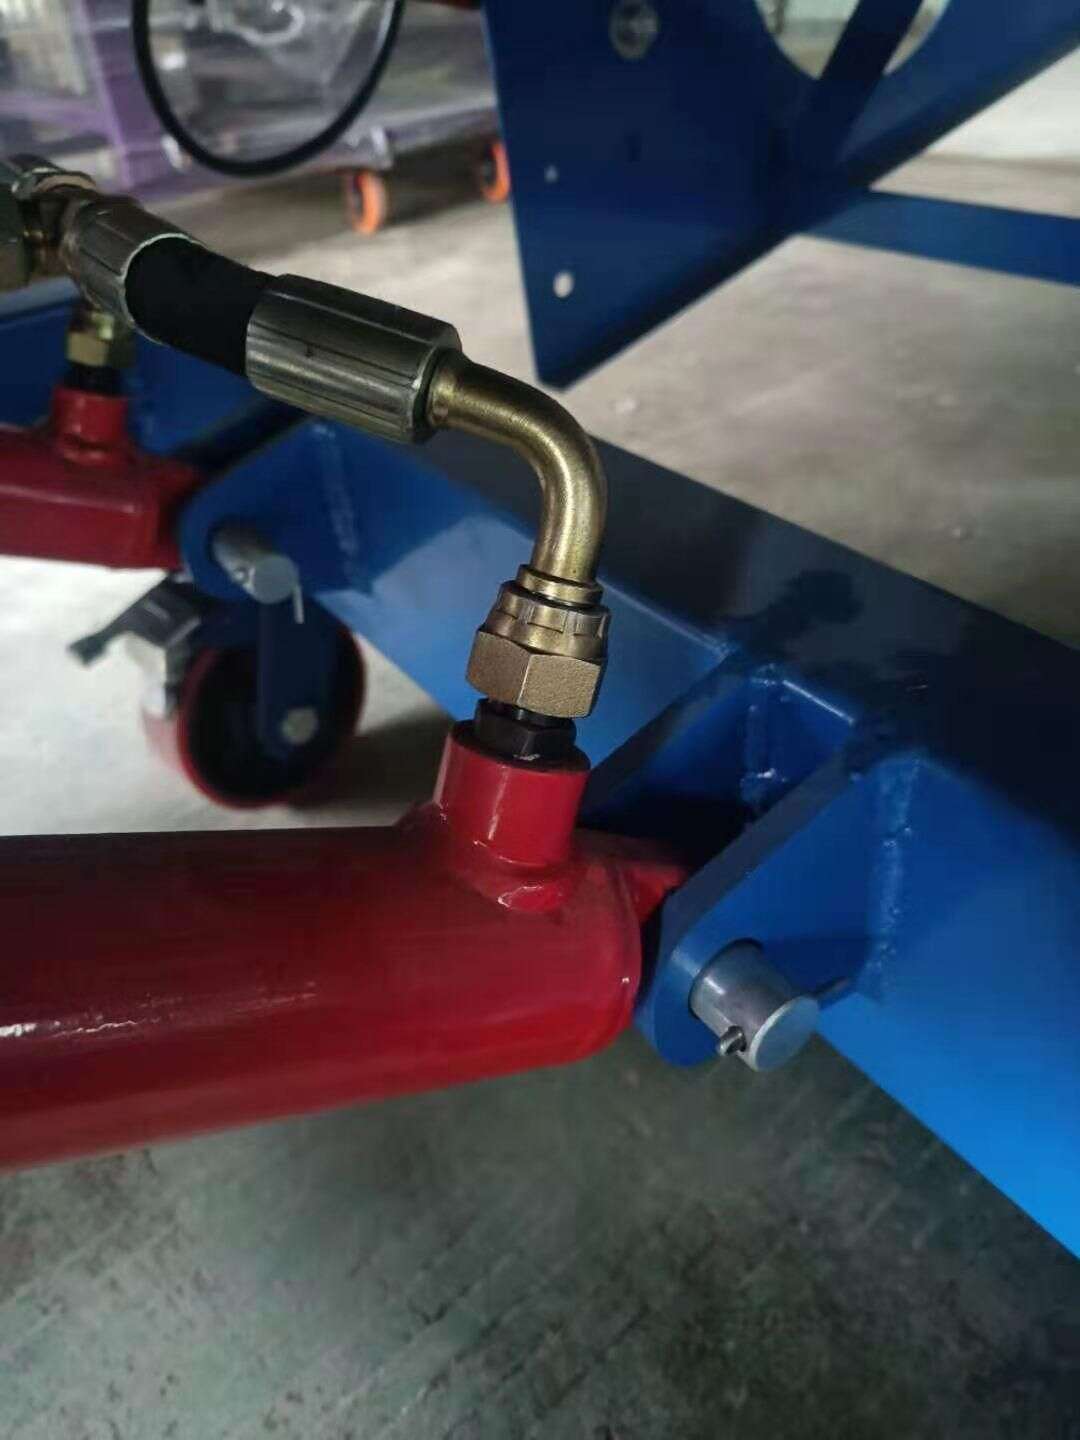
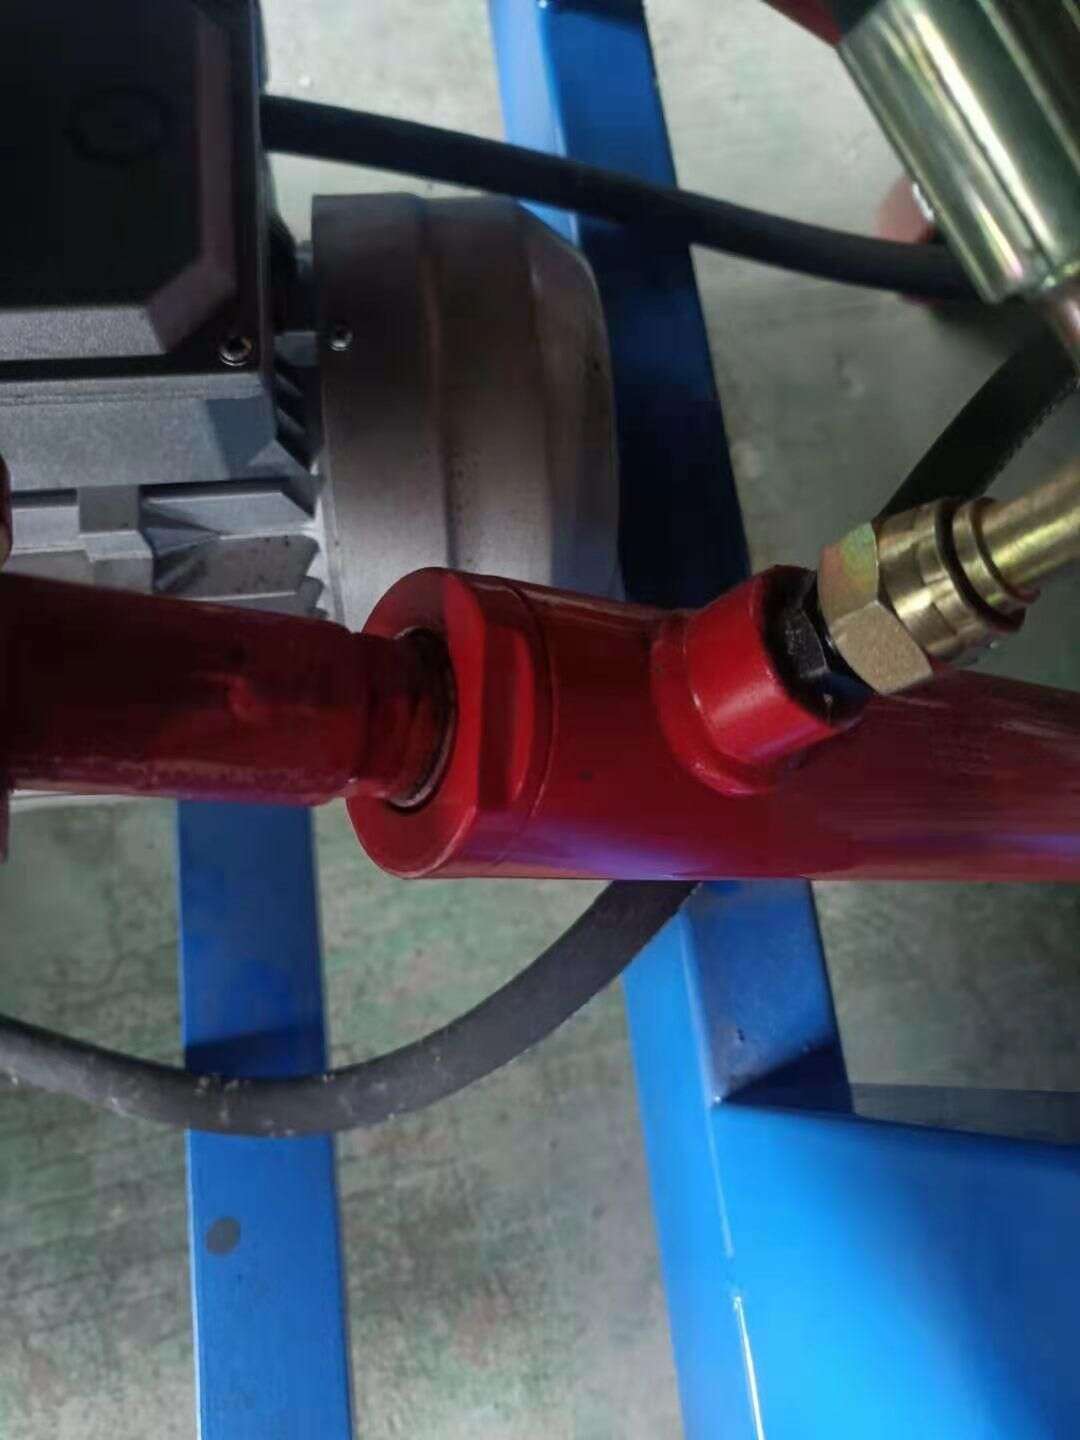
1. Check whether the oil cylinder hose is leaking oil and handle it promptly.
2. After using it for a period of time, the chain needs to be lubricated withlubricating oil

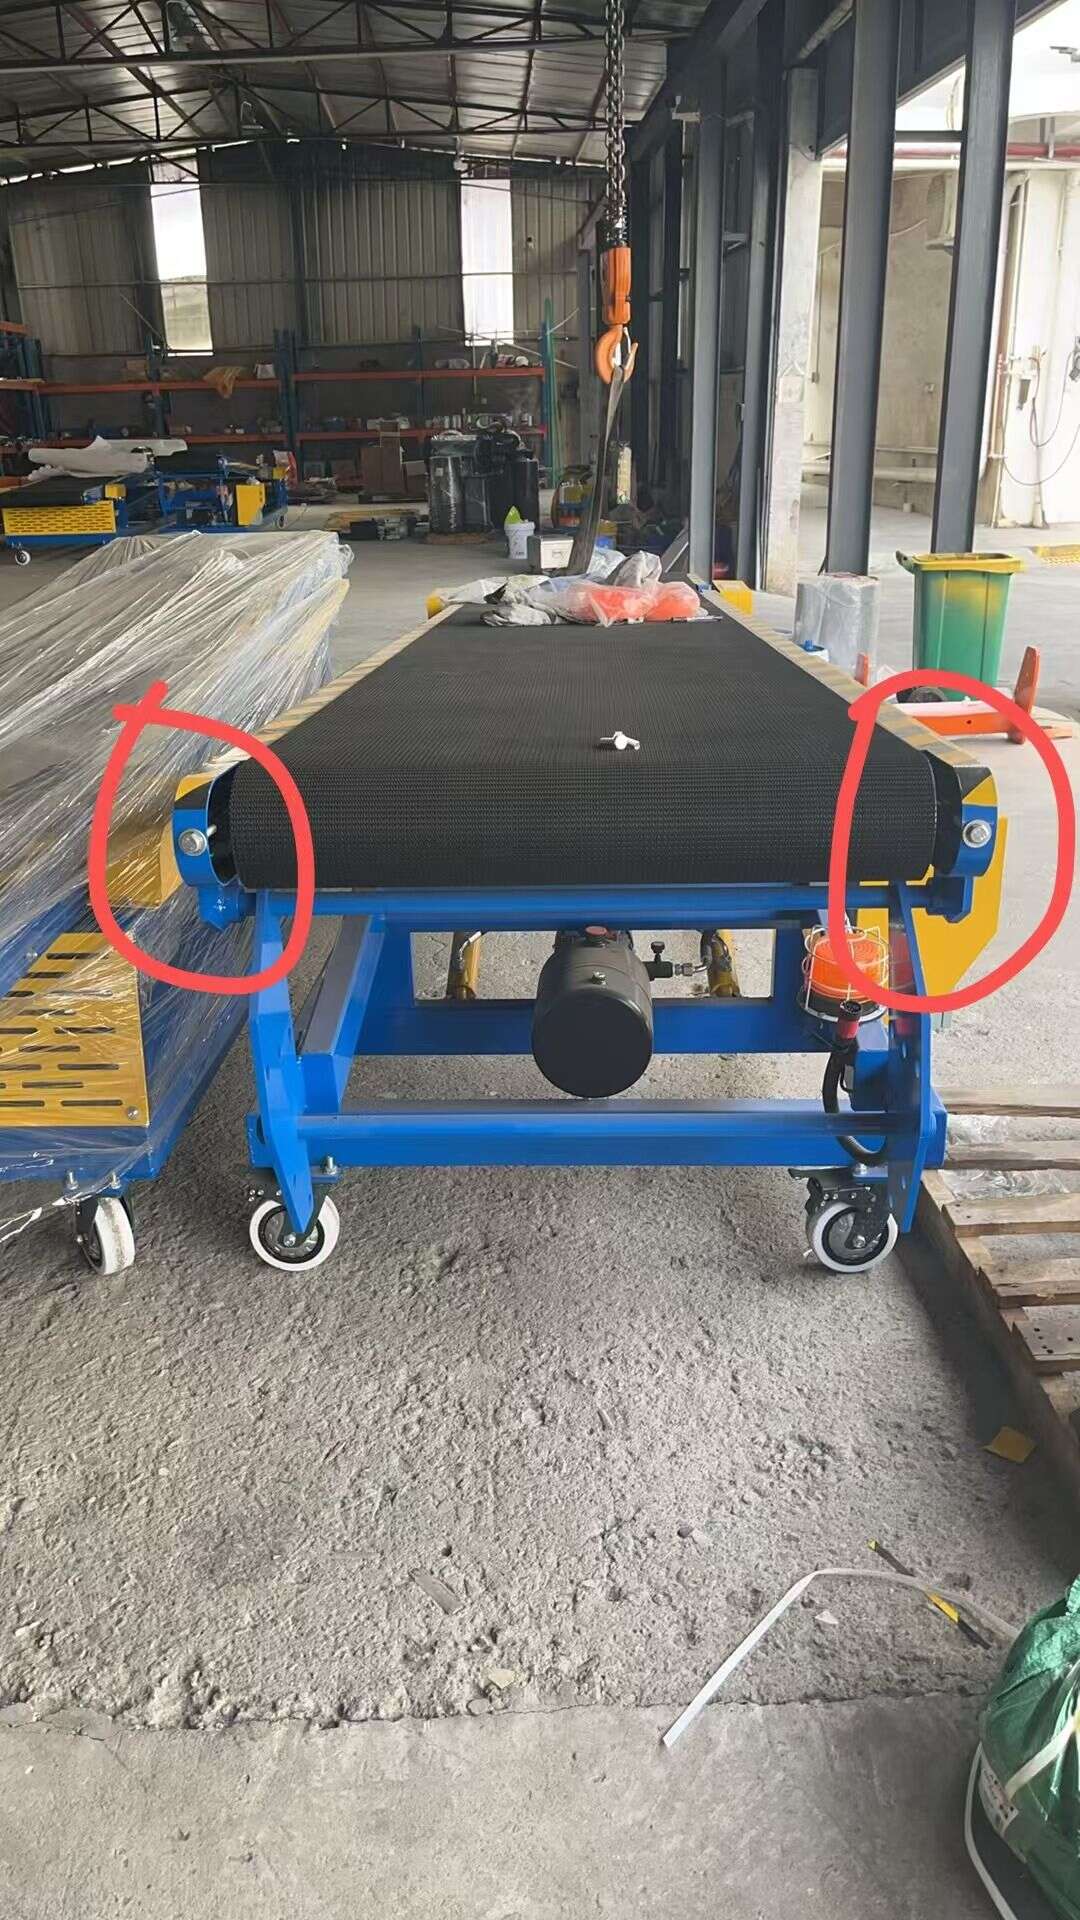
3. If you find the conveying force is insufficient after using it for a period of time, tighten the screws on both sides.
5. Instructions for Using the Electrical System
Power supply requirements
1. In areas with unstable voltage, please install a voltage stabilizer.
2. For a standalone 220V power supply, do not use one 380V live wire and one ground wire; be sure to use a ground wire.
3. The power cord must meet the standard and must not be too thin.
How to Operate the Control Box
1. Pre-start checks: confirm that the power supply is connected correctly (the control box is labeled single-phase power connected to 220V, and three-phase power connected to three-phase 380V).
a. Confirm proper grounding.
2. Start running: turn off the emergency stop switch on the control box.
a. Rotate to select forward or reverse switch
Troubleshooting Methods
1. After plugging in the power, the indicator light does not turn on
a. Troubleshooting: Check whether the circuit breaker is turned on and whether the power supply is connected correctly
2. The indicator light is on, but the inverter panel is off
a. Troubleshooting: Check whether the inverter input power and data cable have come loose
b. Check: After the inverter is powered on, there is a small fan running inside; you can tell by the sound whether it has been powered on
3. The inverter is running normally, but the motor does not turn
a. Troubleshooting: Check the inverter output cables (U, V, W) and the quick-connect wiring
b. Check: One set of wires on the connected equipment has come loose
4. The inverter shows an error code
a. Troubleshooting: Check the wiring starting from the inverter output cables (U, V, W)
b. Check: One set of wires has come loose and is shorting, or the inverter is damaged
c. Solution: Separate the wiring connection between the control box and the equipment
i. Power on the control box to check whether it is working properly
ii. If not, disconnect the three sets of inverter wires (U, V, W) and test again
iii. If it is still not working properly, the inverter may be burnt out
iv. If the inverter is not the problem, check the wiring
5. The motor makes a sound but does not turn
a. Check: One set of motor wires has come loose or broken
b. Solution: Open the motor terminal box and inspect it
6. The equipment has static electricity and leakage
a. Troubleshooting: Check whether the external power strip has a ground wire and whether it is properly grounded
i. Check whether the related power cables have damaged insulation, exposed conductors, or other leakage-risk conditions